Double opt-in feature in forms
Last Updated:
Set up double opt-in for your forms to verify subscriber email addresses and maintain a clean list. This simple process doesn’t require automation and helps ensure compliance with privacy regulations while improving deliverability. This tutorial will showcase you how to set it up.
Ensure you have a subscription form ready, whether it’s a pop-up or an embedded form. If you haven’t created one yet, refer to this tutorial to get started.
Once you have your form ready, access its Overview page. You can do that from the main form list:
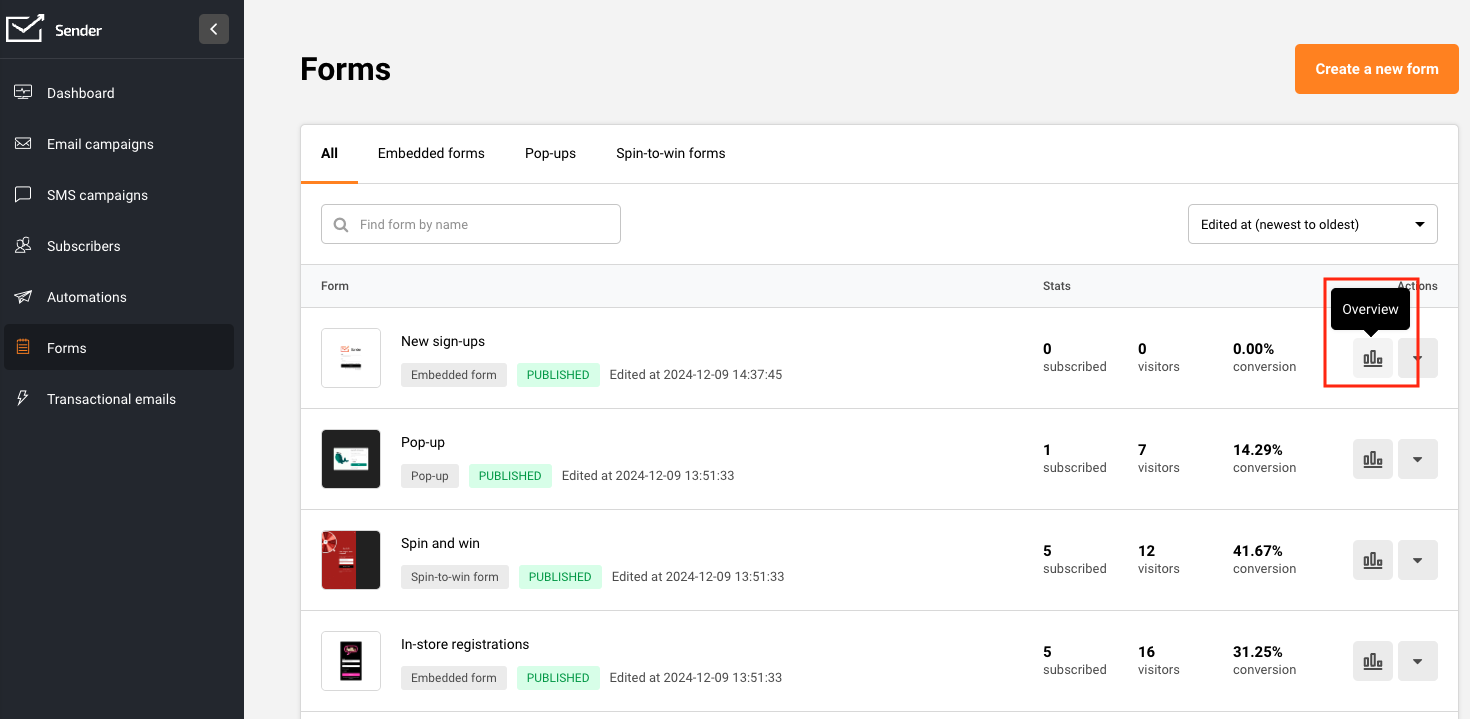
In the Overview page, scroll to the Integration instructions section and select “Double opt-in”.
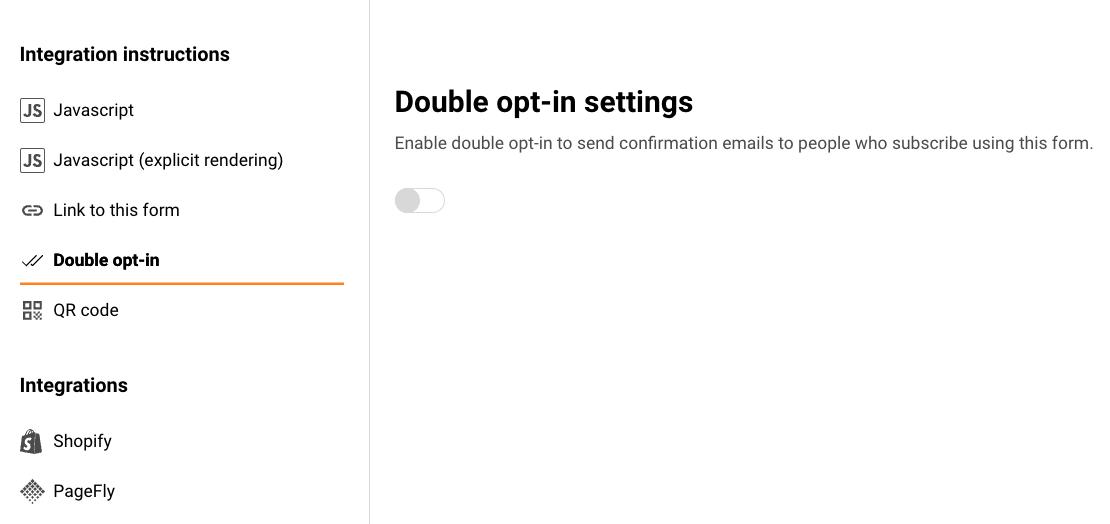
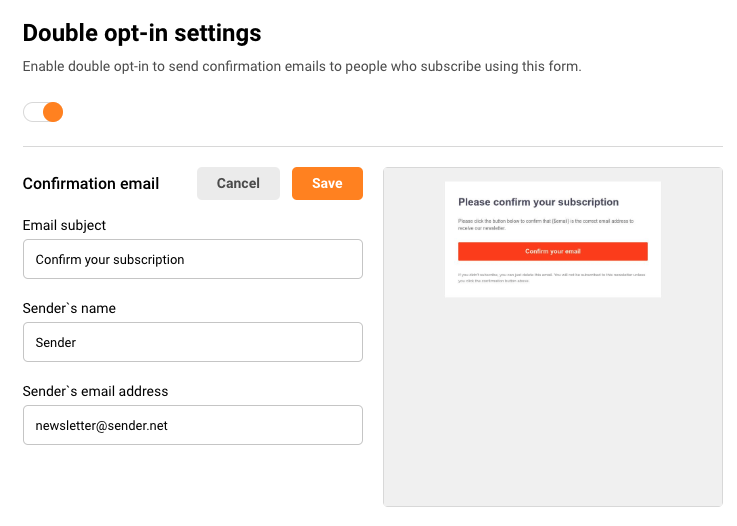
Enable the double opt-in feature, and you’ll see the option to edit the sender’s name, email address, and subject line.
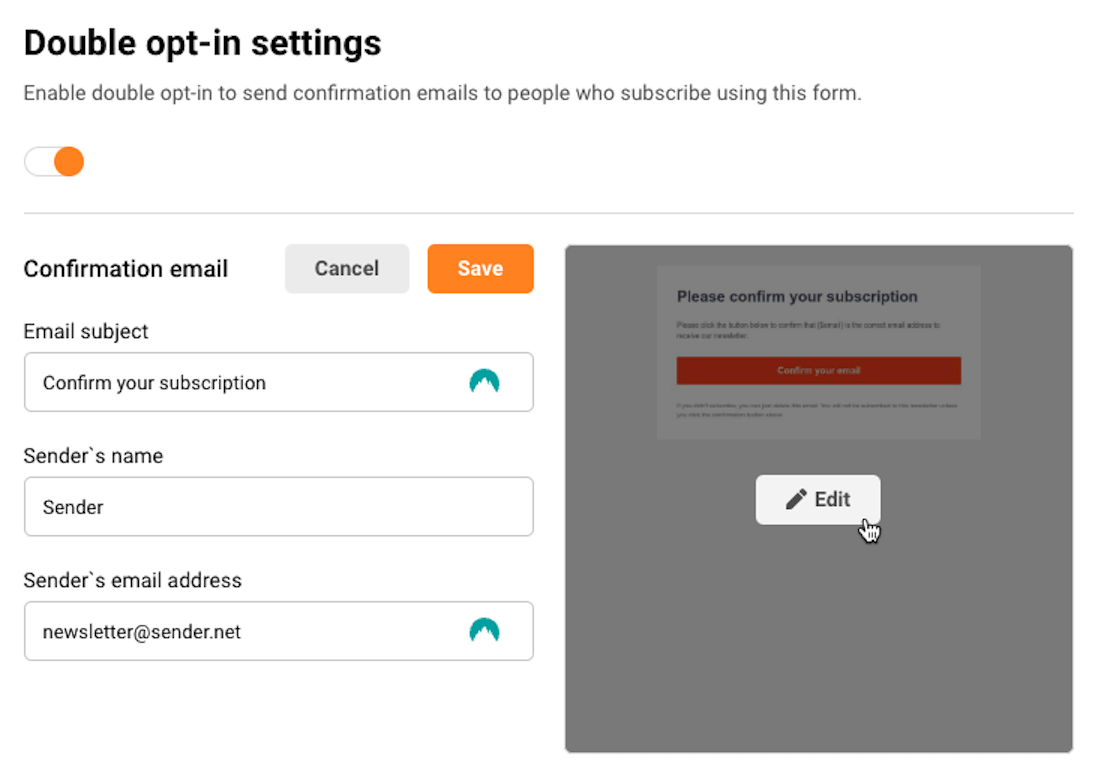
Hover over the email preview and click on “Edit” button if you want to change the default email template to better suit your brand.
The email verification campaign can be edited like any other email campaign using the Drag & Drop editor.
Make sure to include the link to confirm the verification in an easily noticeable button in the campaign: {$double-optin-link}.
To make your email campaign more personalized, you can include any custom fields collected through the subscription form. Simply add them to the email content using the custom field codes. To learn more about this process, follow this tutorial.
The email address provided during the subscription is automatically included in the default text of the verification email.
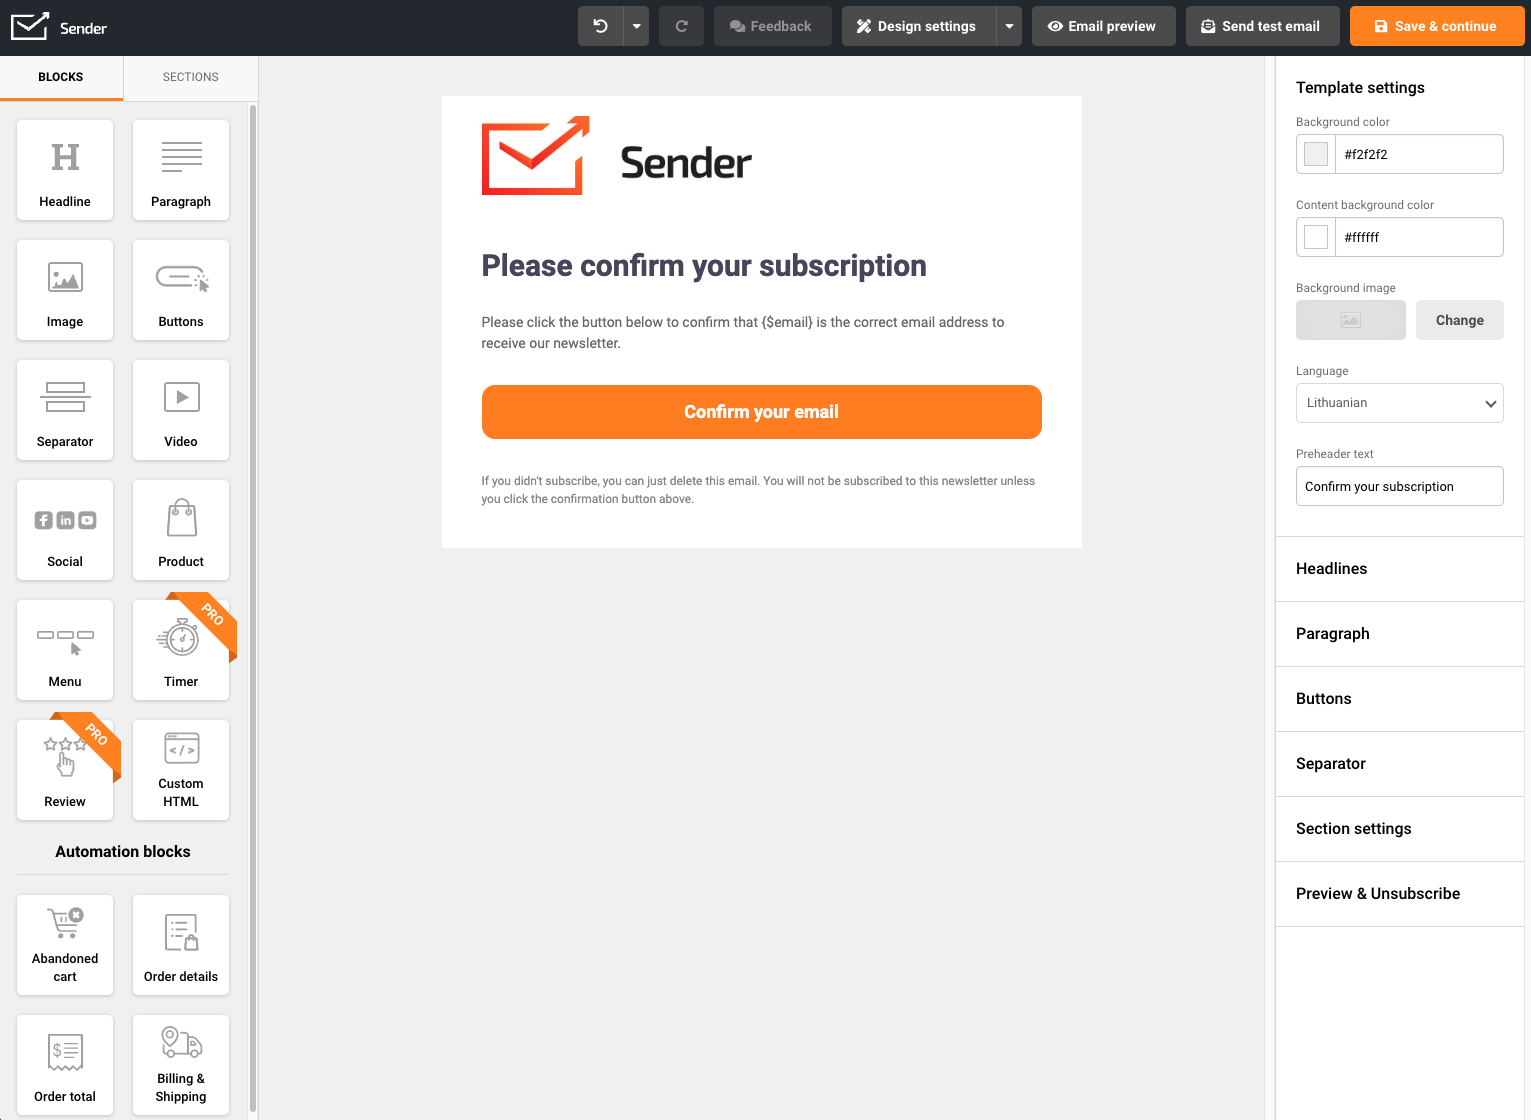
Once happy with your verification email campaign, click “Save & continue” to lock your progress.
Once a customer signs up using your subscription form that has double opt-in enabled, they be added to the subscriber list but their subscription status for marketing campaigns will be non-subscribed at this point.

Once subscribed, they will immediately receive the prepared verification email campaign.
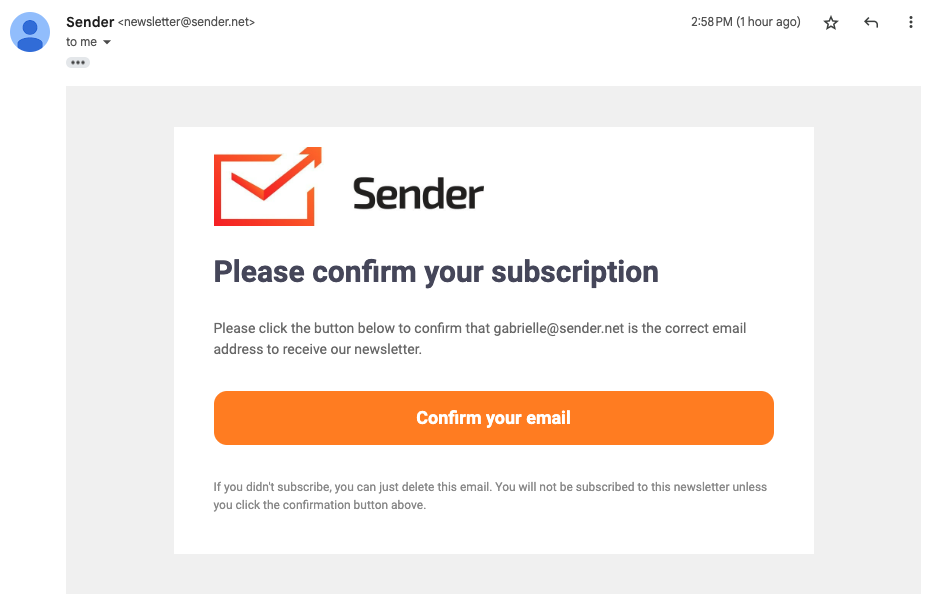
If they choose to confirm their subscription and click the link, they will be taken to success view page.
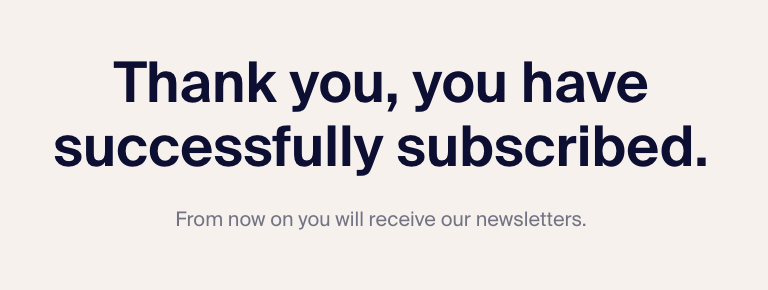
This will also change their subscription status to Active, and you can contact them in the next email campaign.

If you got stuck on a specific task or can’t find a way to execute a particular job, contact our support team via LiveChat or [email protected] – we’re here to help 24/7.
All the features your business needs to
acquire high-quality leads, grow sales, and maximize revenue from campaigns
using one simple dashboard.


