Subscribers Management: Groups
Last Updated:
Group tags are a way to identify recipients based on the information you hold on them. Group labels play a similar role as mailing lists, though there are a few differences.
Each new subscriber must be put into a group upon the import or assigned to it before sending a campaign. Users can add multiple group tags for the same subscriber.
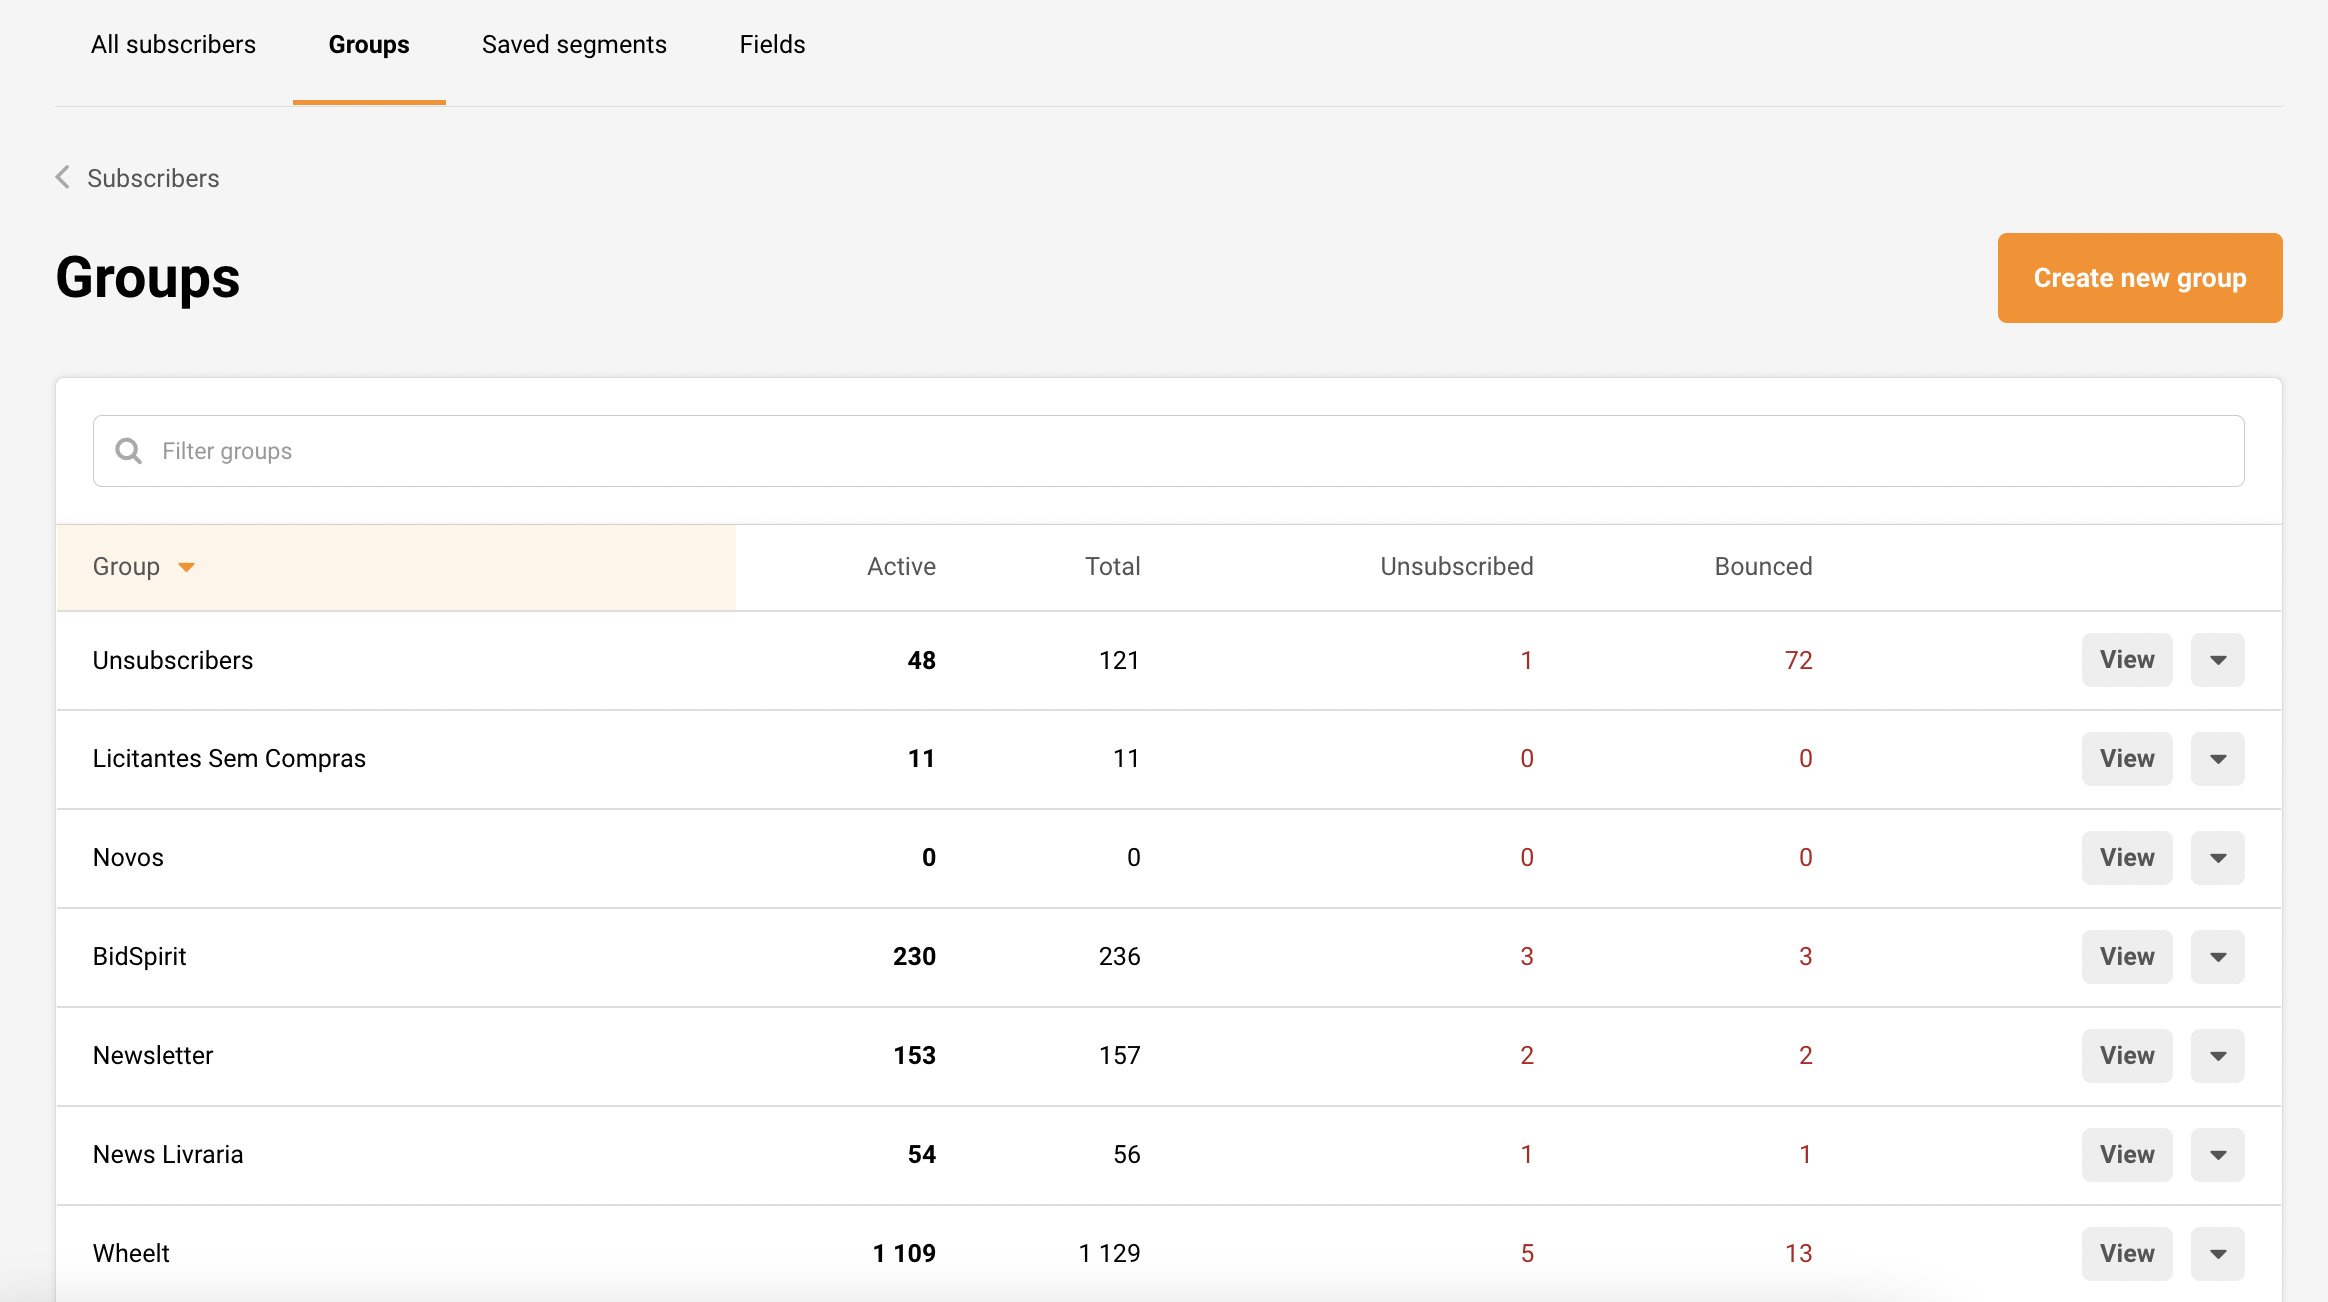
Actions that can be found in the “Group” section:

“Create new group” button does exactly what it says it does. There are a few ways to add subscribers into a group:
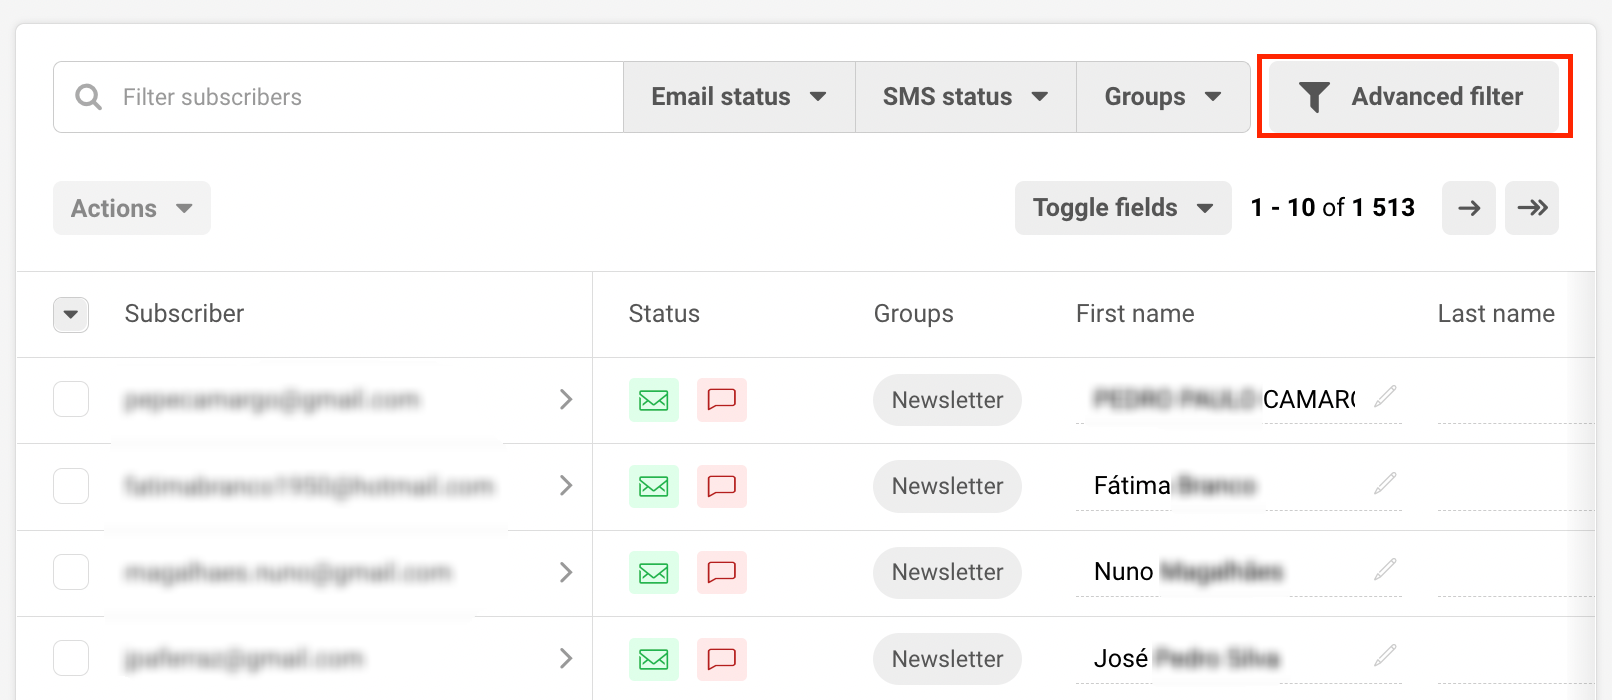
If you want to assign already imported recipients, click on the group’s name, then filter out the needed recipients via advanced filters or subscribers’ status.
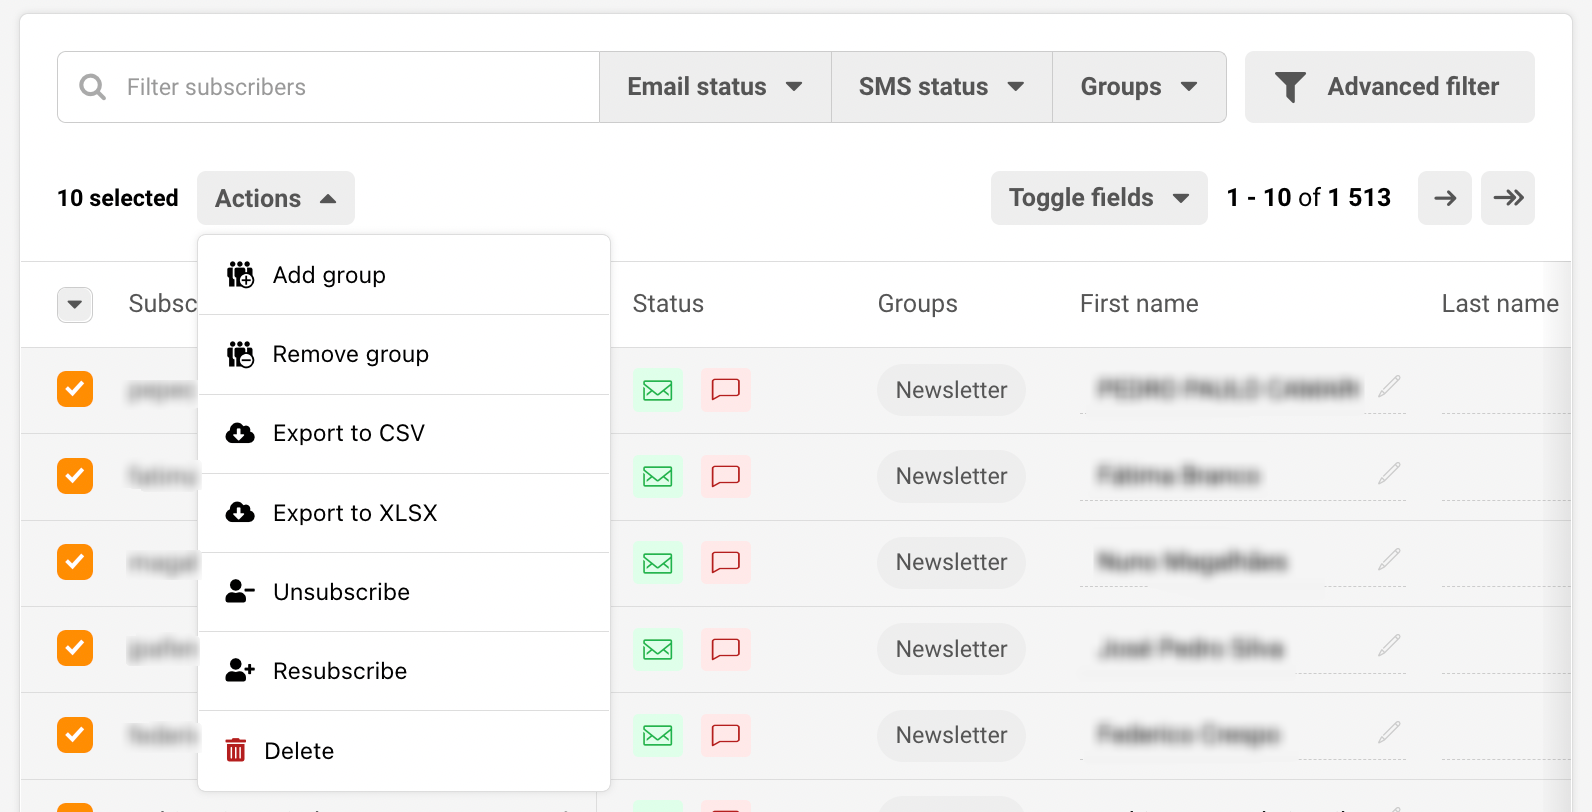
After you finish the filtration process – select the chosen recipients and click on “Actions” -> Add group.
That’s it! Subscribers were successfully assigned to a new group and received an additional group tag.
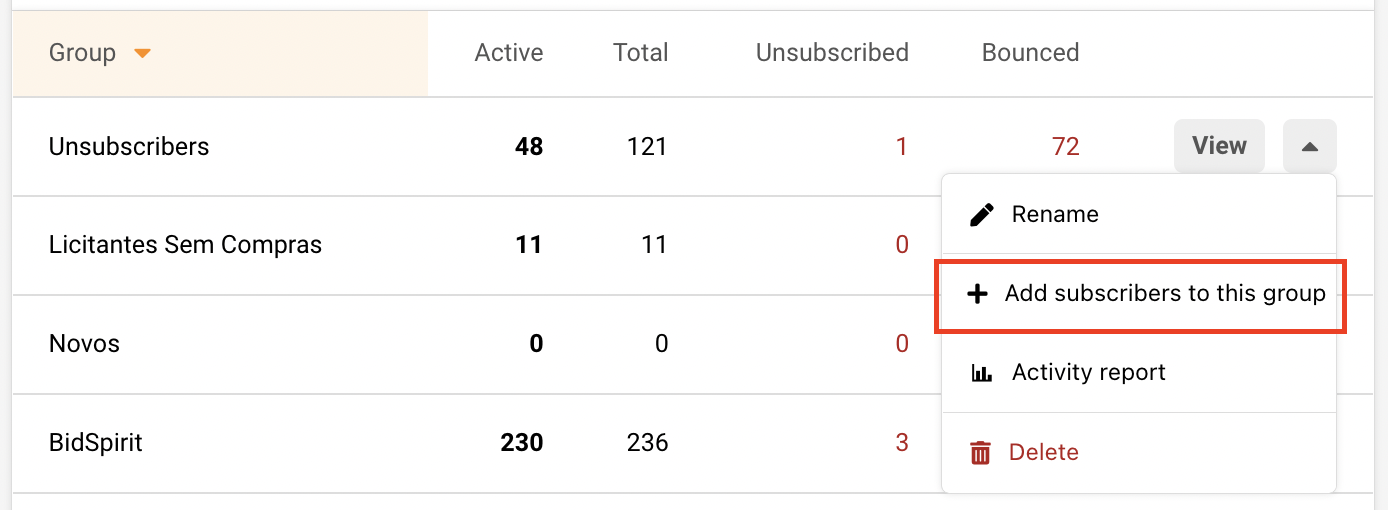
Go ahead and click on the arrow down to open the drop-down bar and then the “Add subscribers to this group” button.

Next, the subscribers’ import window will appear. There are a few methods to upload recipients.
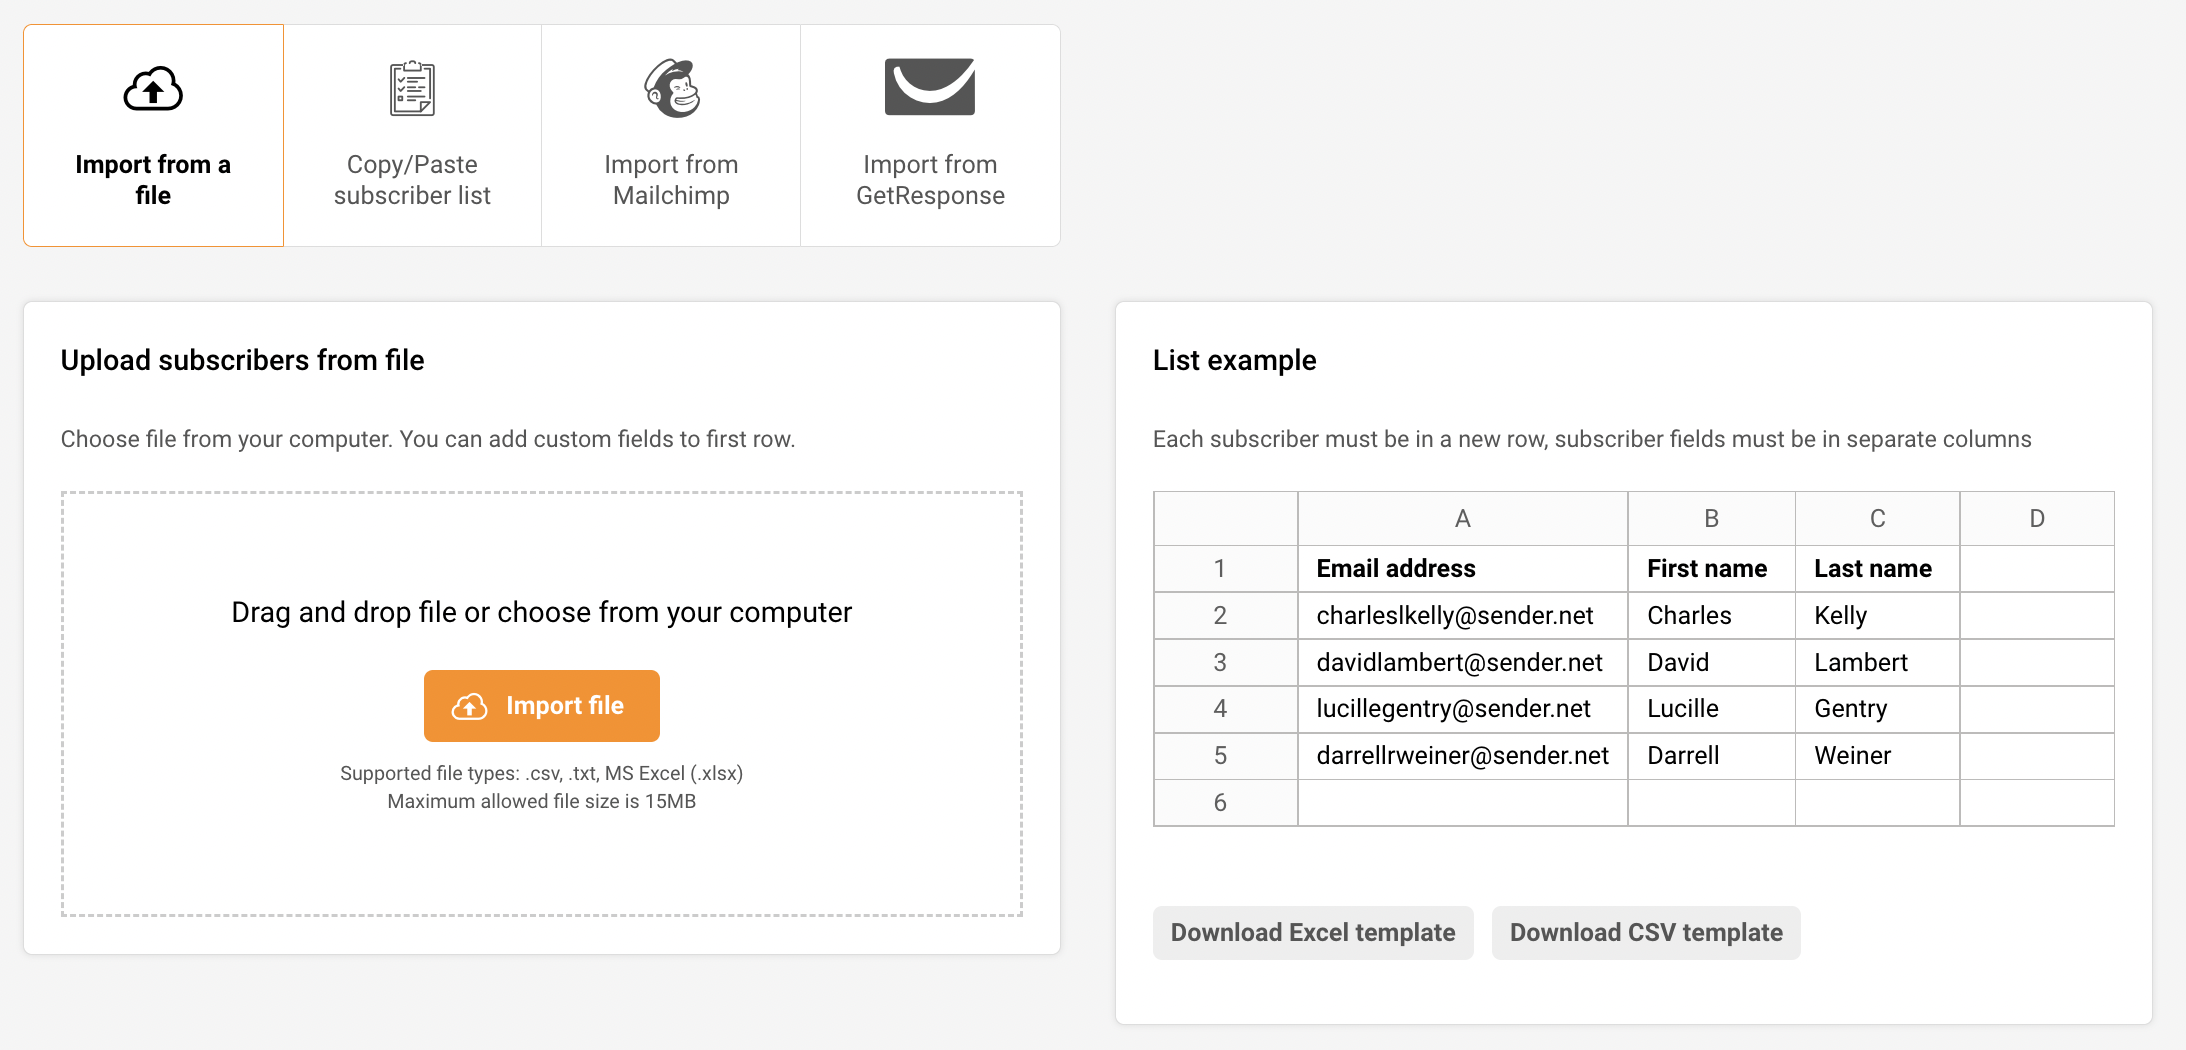
When subscribers get imported, you will be asked to assign the custom fields, e.g., names will need to be assigned to the “First name” column, etc.
If you do not want to assign all columns, you can click “Skip all unselected fields”.
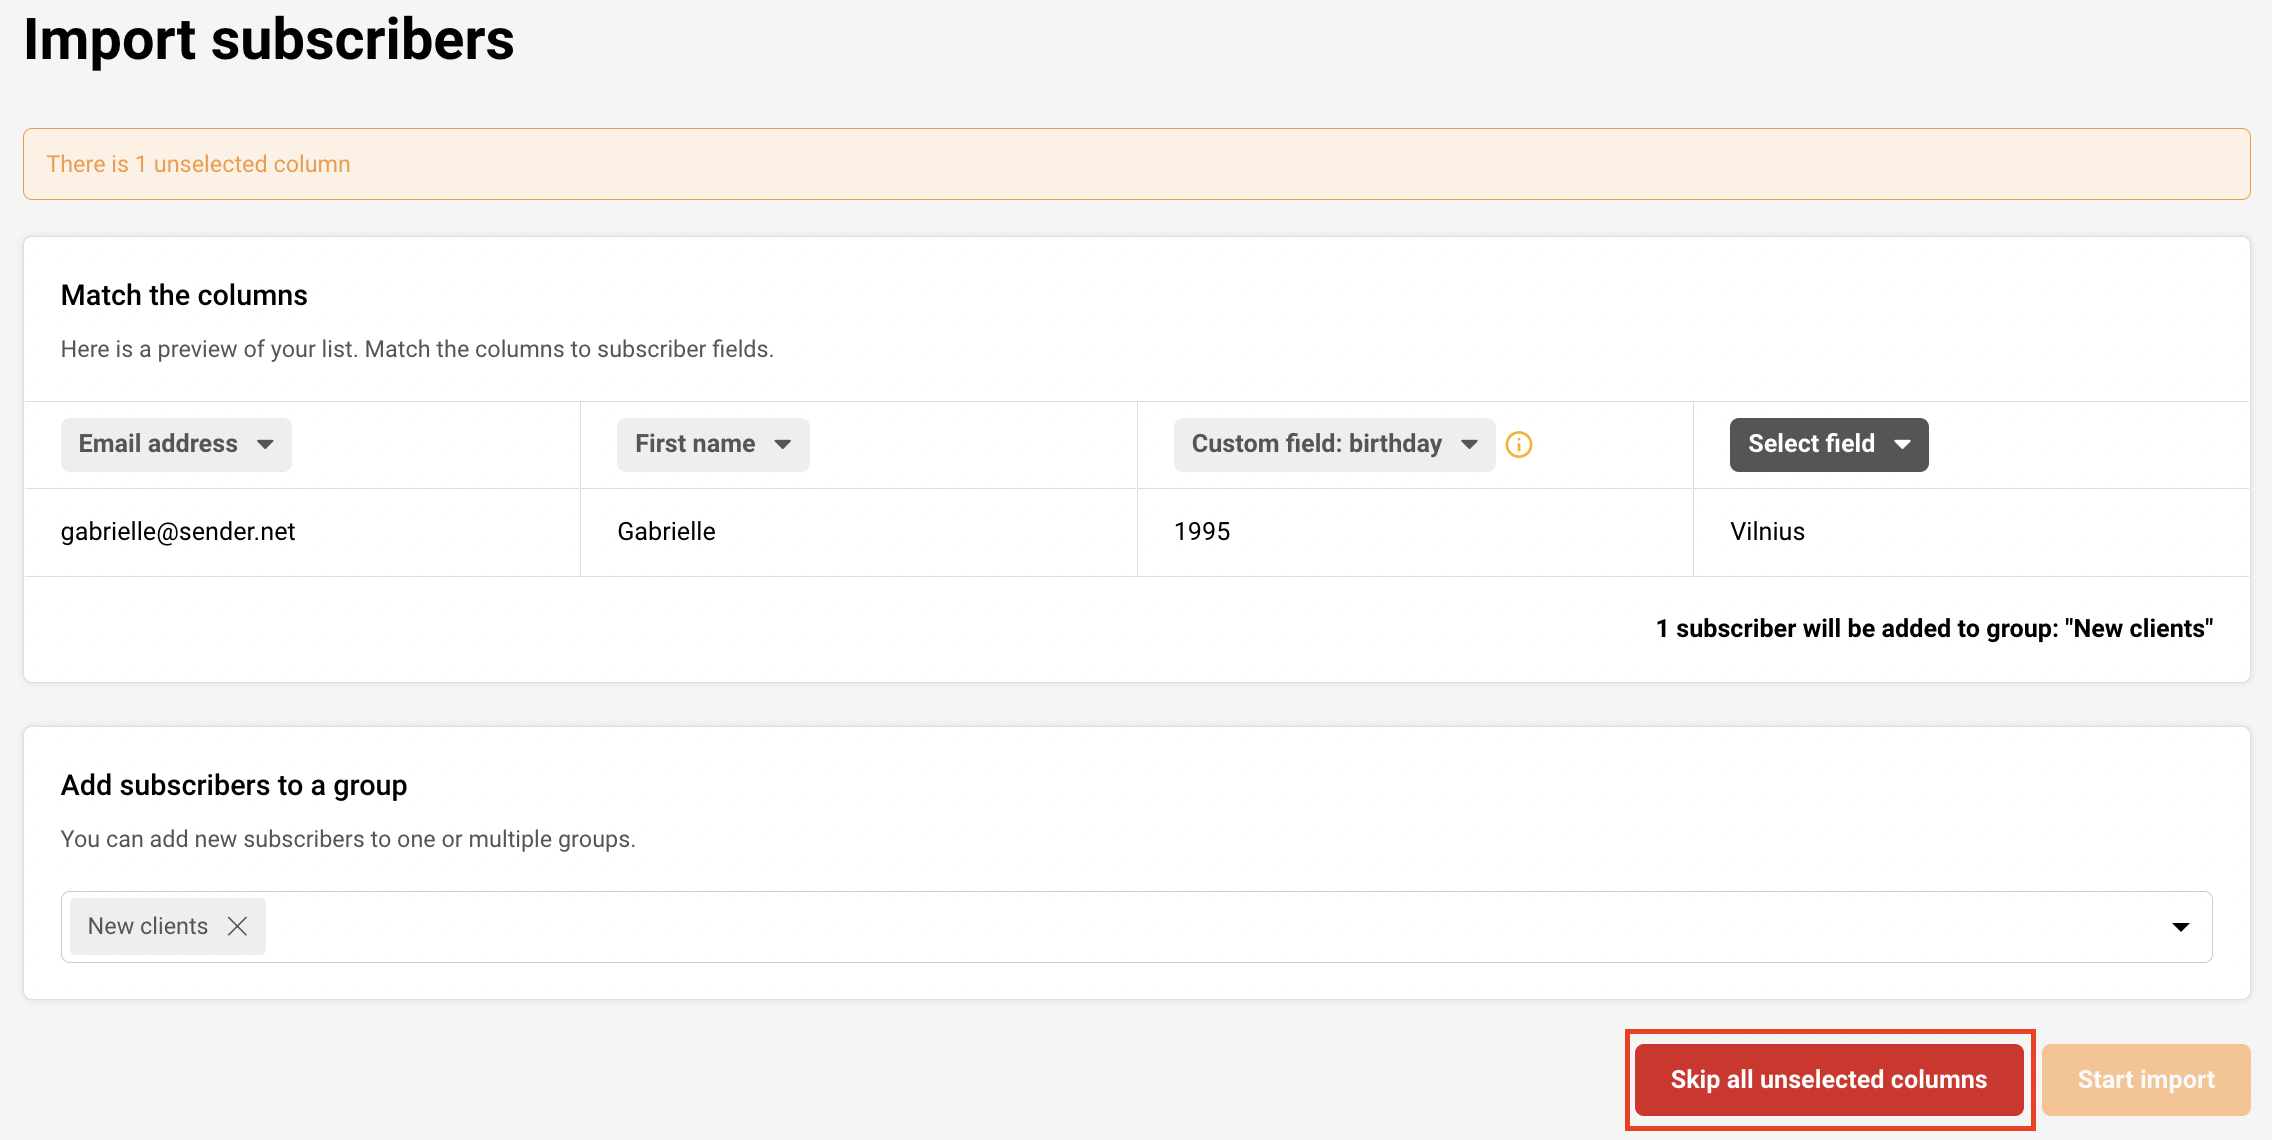
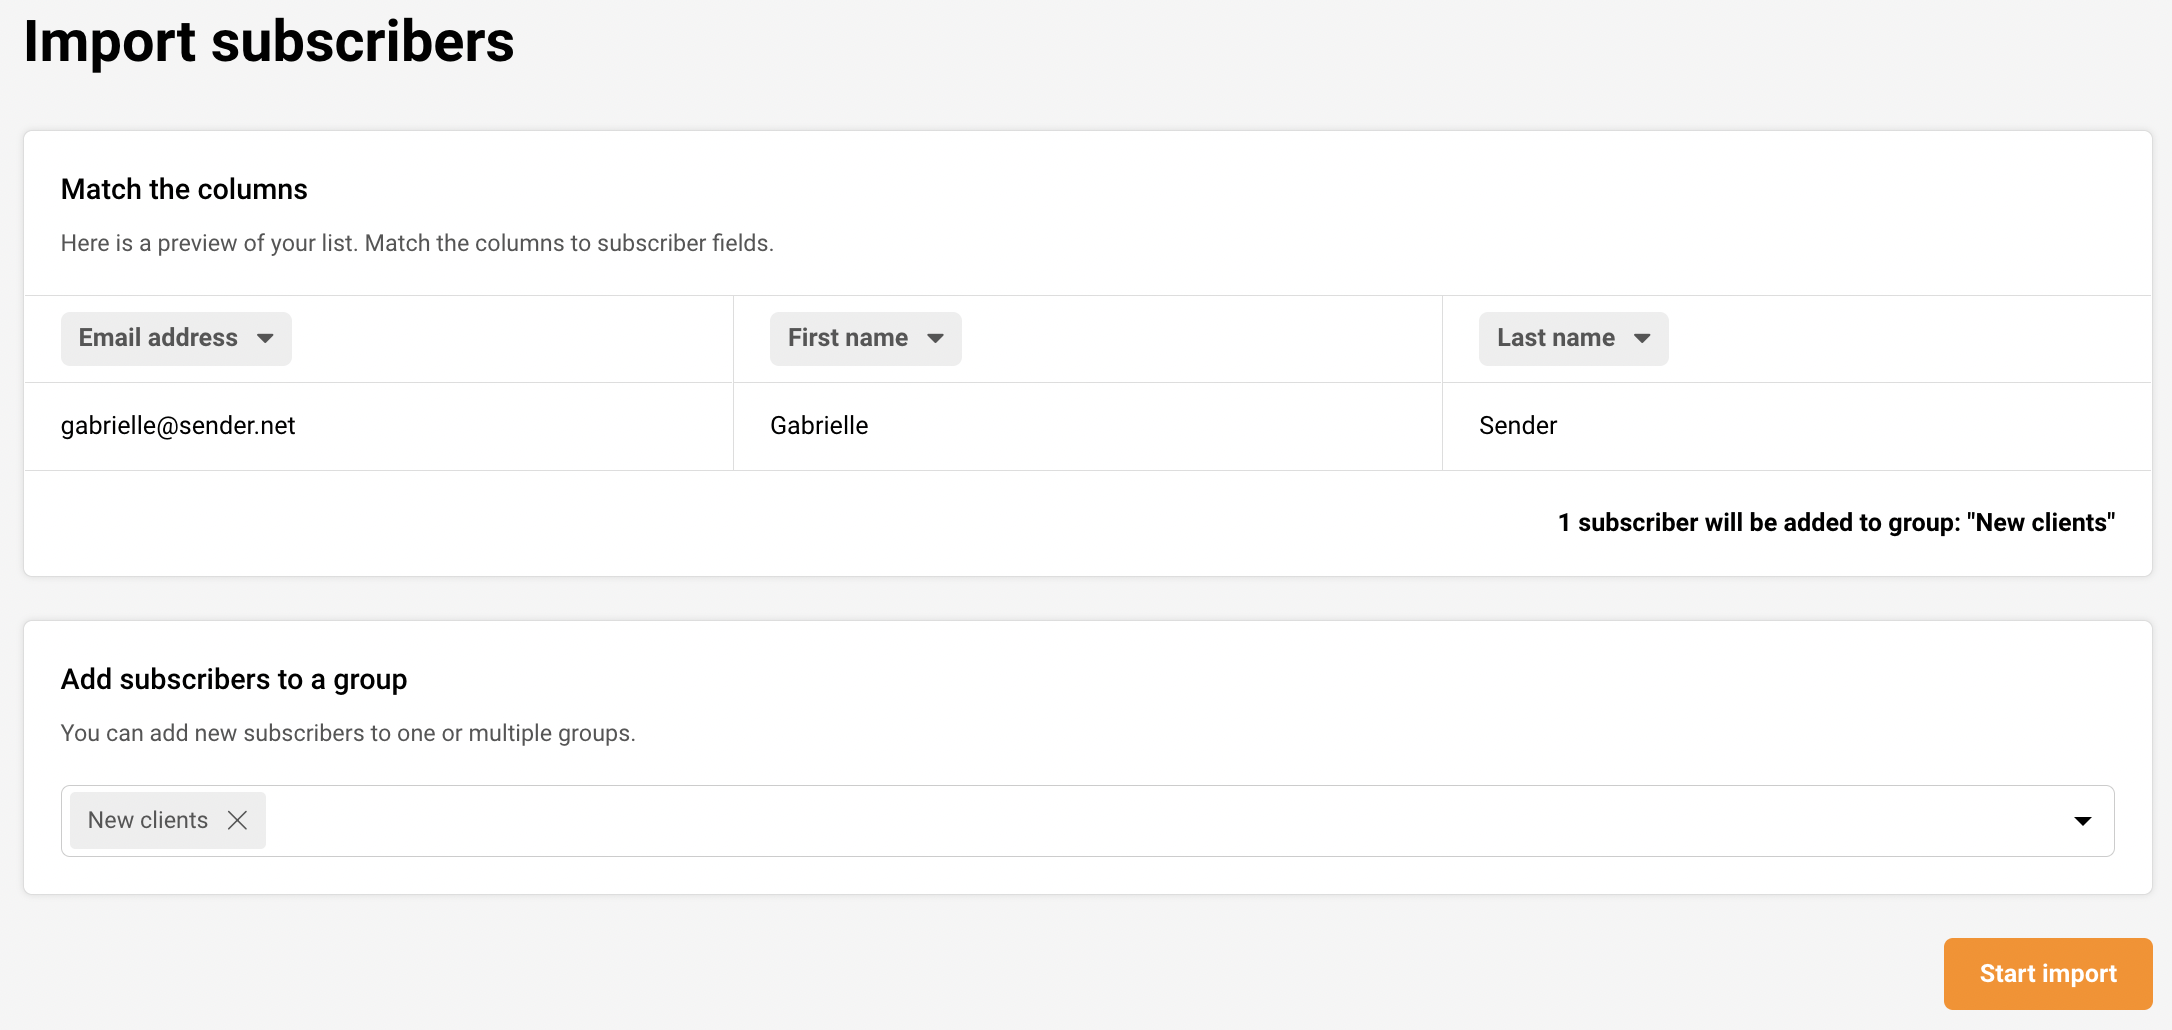
Next, when columns are marked – click on the “Start import” button. The upload process takes up to a few seconds.
If you are stuck on a specific task or can’t find a way to execute a particular job, contact our support team via LiveChat or [email protected] – we’re here to help 24/7.
All the features your business needs to
acquire high-quality leads, grow sales, and maximize revenue from campaigns
using one simple dashboard.


