Campaign’s management
Last Updated:
Here you will start creating email campaigns. When the campaign section is opened, users will access campaign library, which contains sent campaigns, drafts, scheduled campaigns, etc. Moreover, you can open campaign reports as well. More on them here.
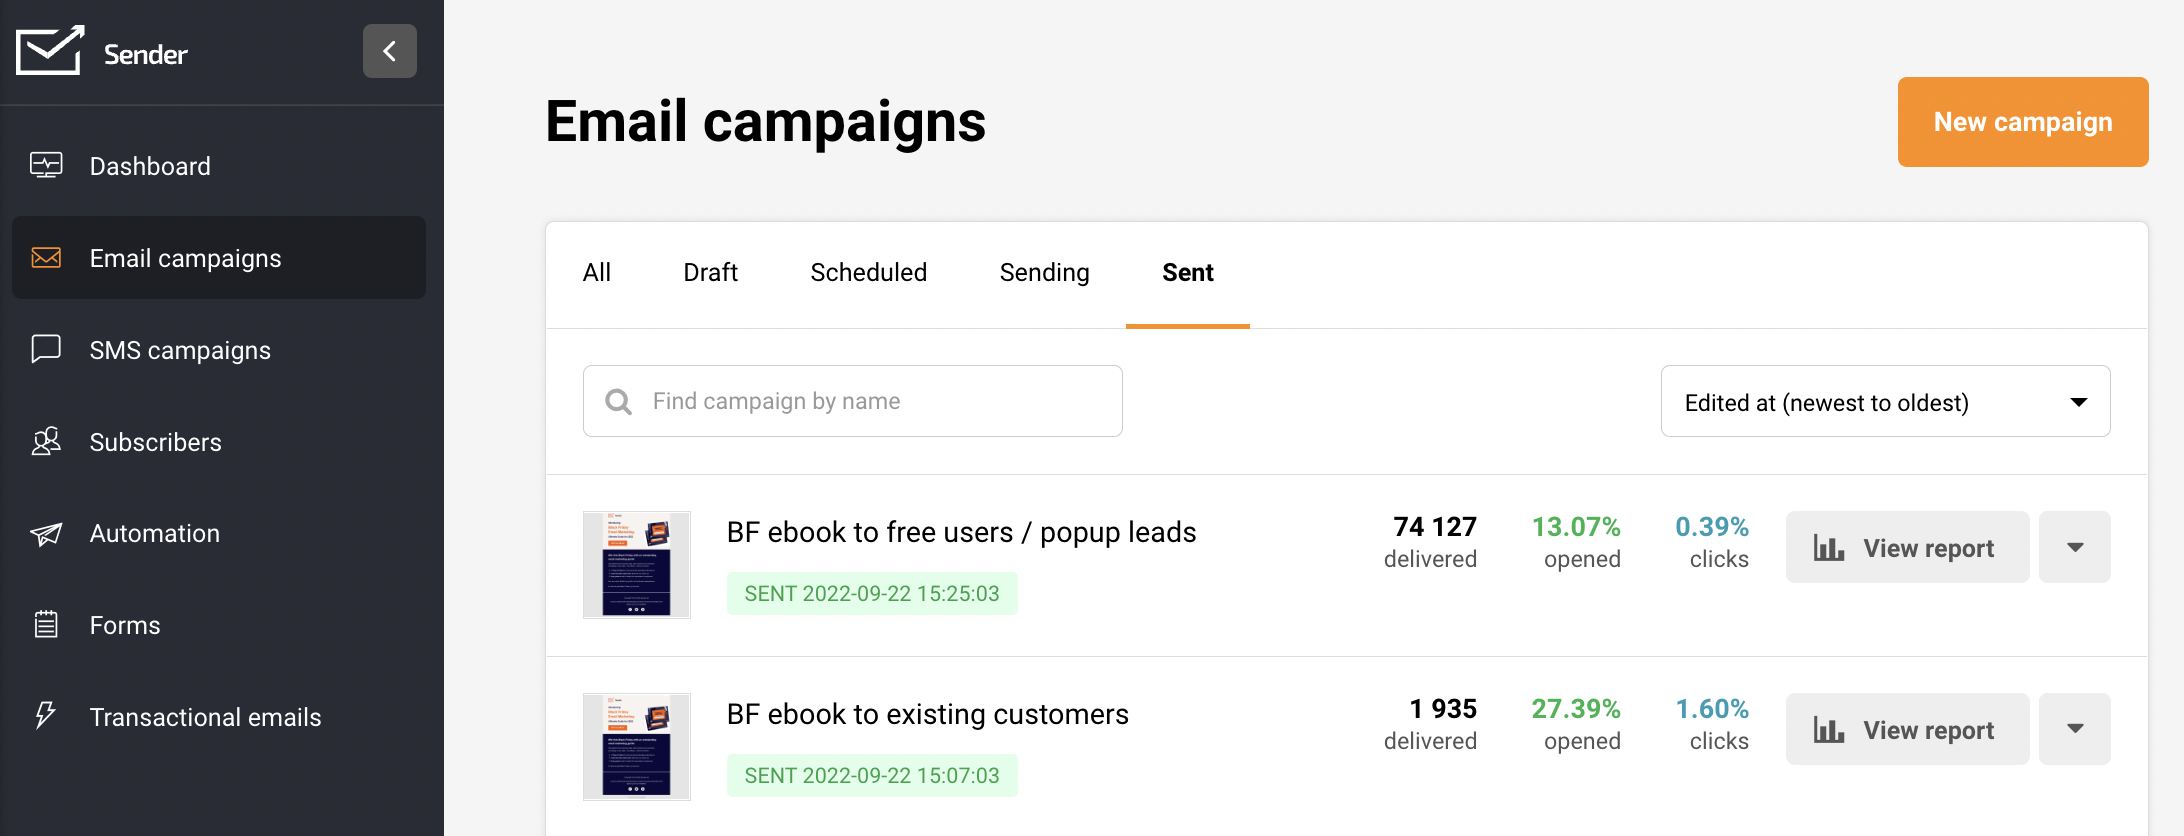
Let’s start by clicking on a “New campaign” button on the top. After the button is clicked, you will be brought to the first step of campaign creation called “Settings” – Here, you will need to input the email subject, sender’s name, etc.
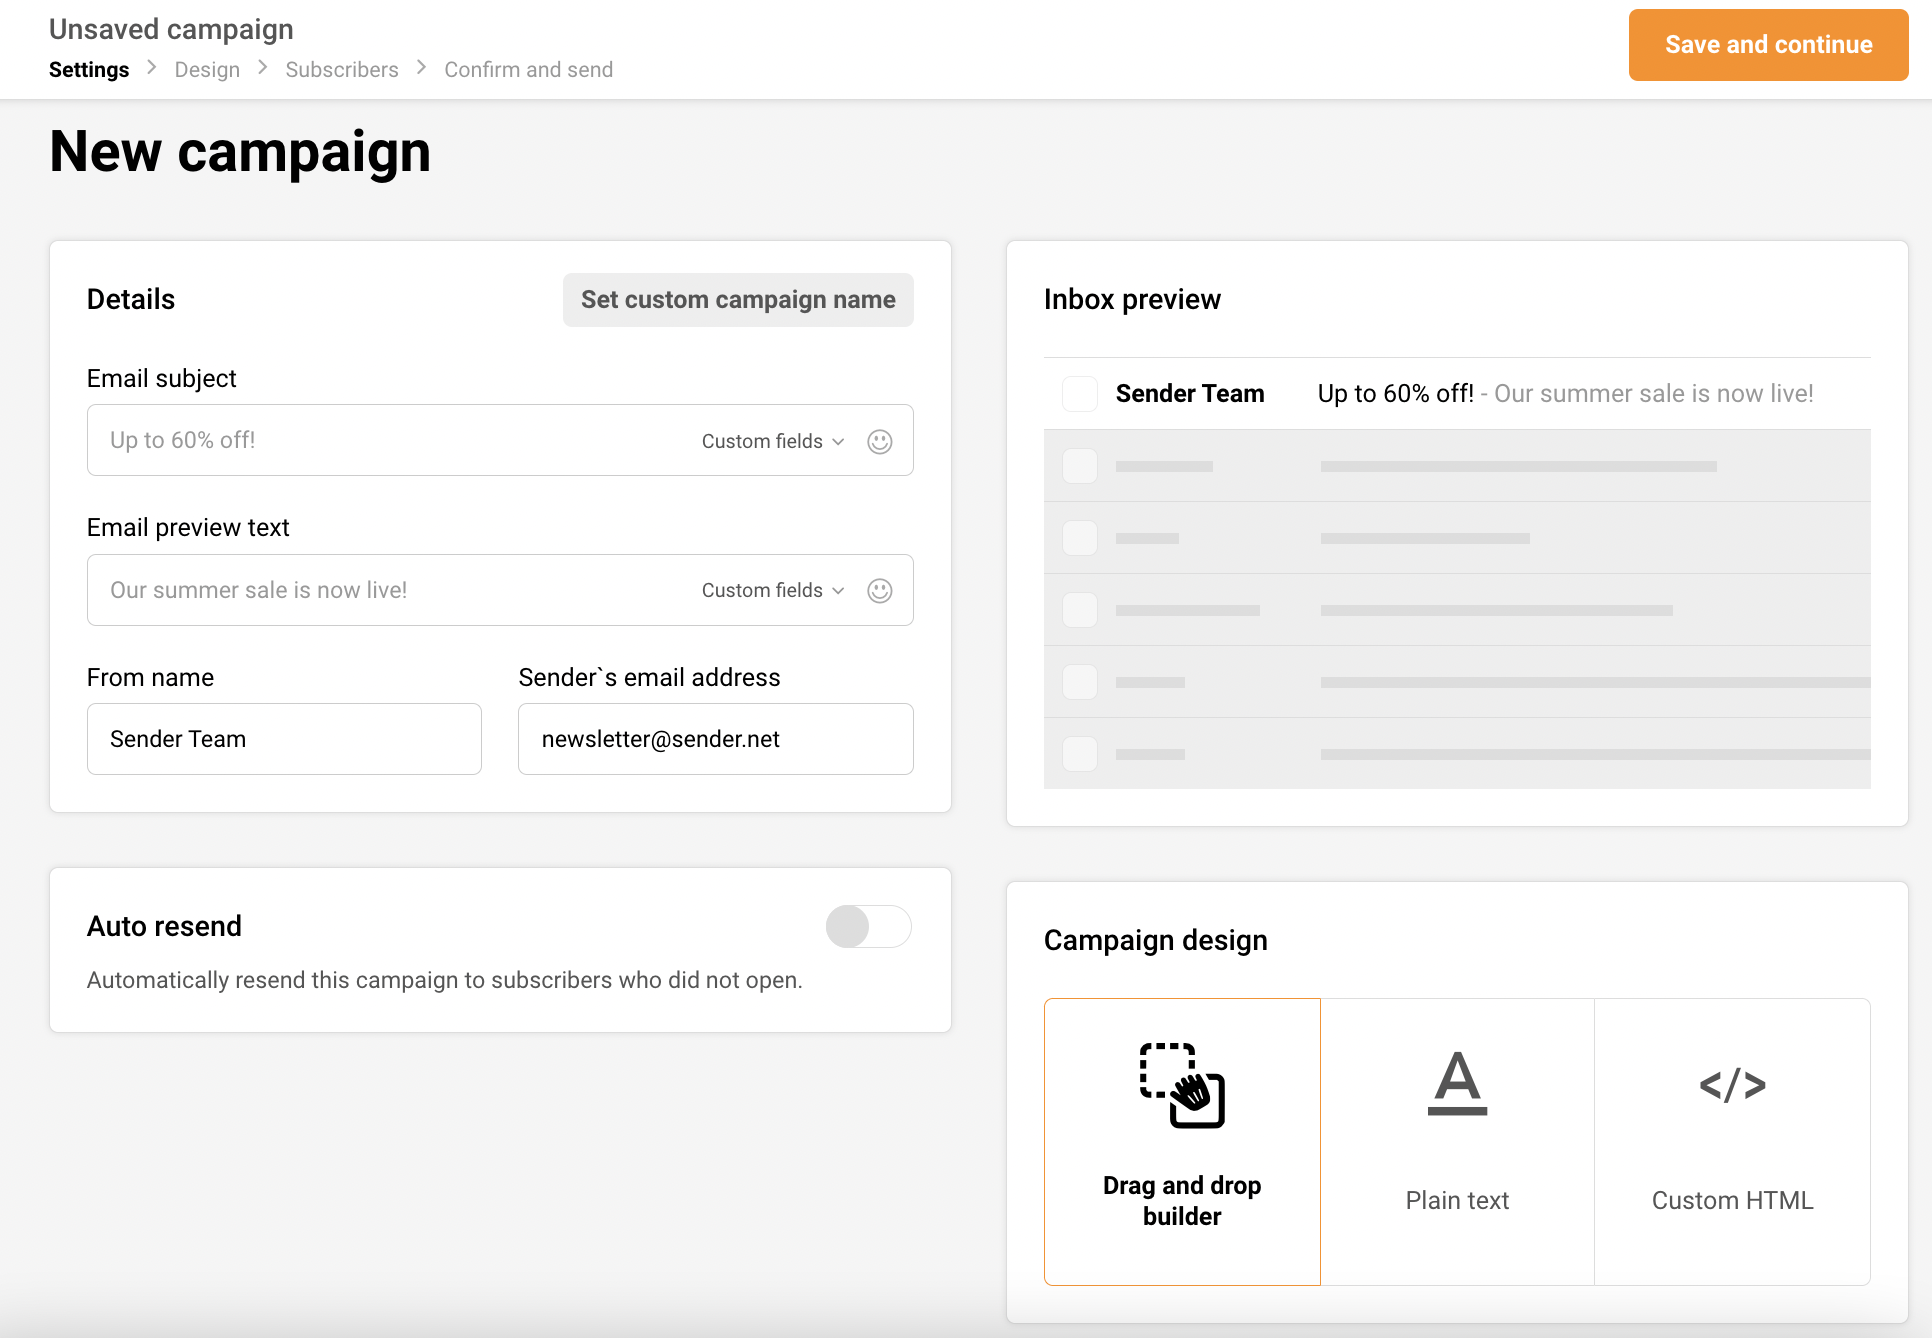
First of all, I would like to mention that navigation bar can be accessed all the time. You can move from one section to another without losing progress. Therefore if you decide to change sender’s name, just hit the “Settings” and change it.

Next, the first tablet called “Details” is where you type email subject, reply-to address, and “from name”. The second piece, named “Inbox preview” renders how an email will look in the inbox. That’s a handy feature helping to create the best engaging and clickable email preview.
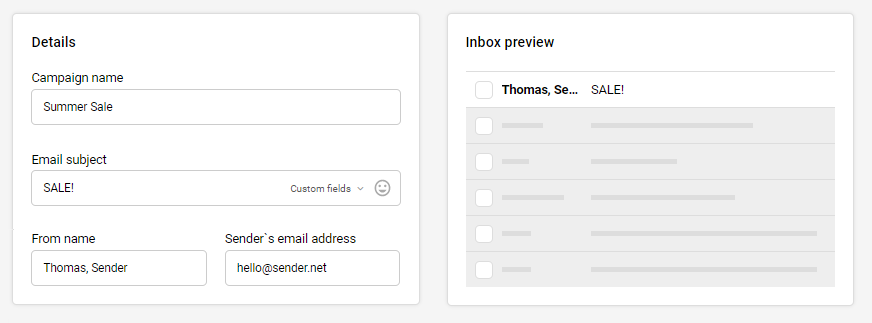
The auto-resend option is next. If you have a paid plan, you can automatically follow up with recipients who didn’t open a newsletter. Pick a delay and subject line, and continue.
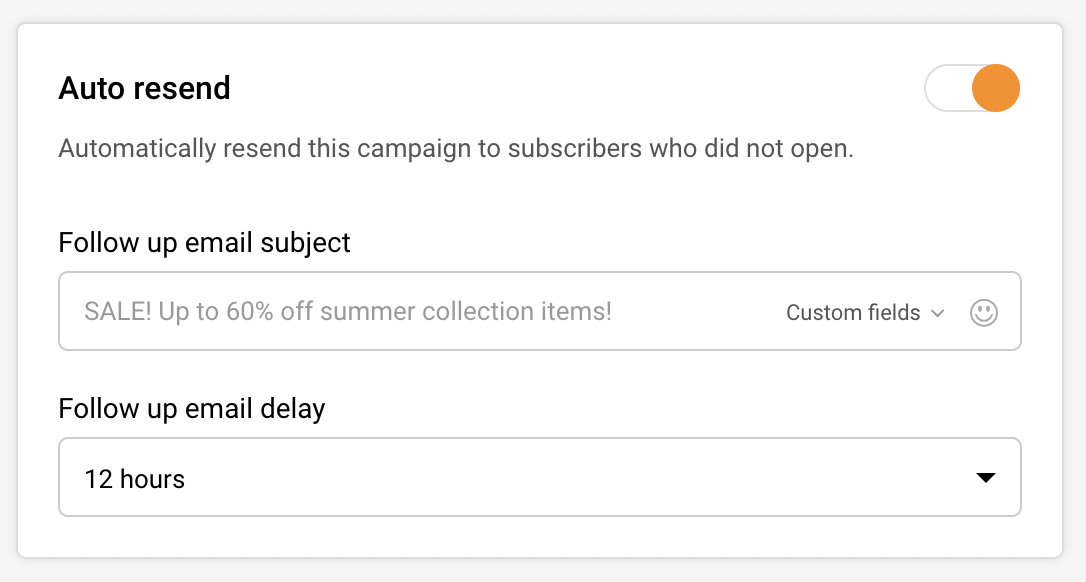
Alright, we’re left with the last piece. Here you will need to pick which editor you’ll use for the newsletter:
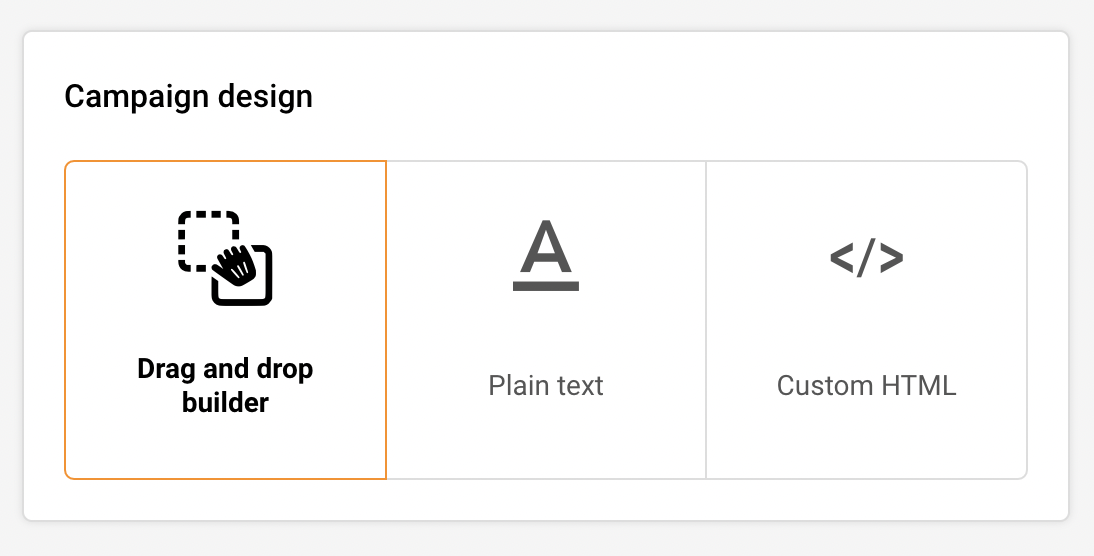
In this case I will choose Drag & drop editor and continue the creating process.
When the design editor loads, you will need to select a template that will be used for a design. You can use a pre-made template or continue with a blank sheet.
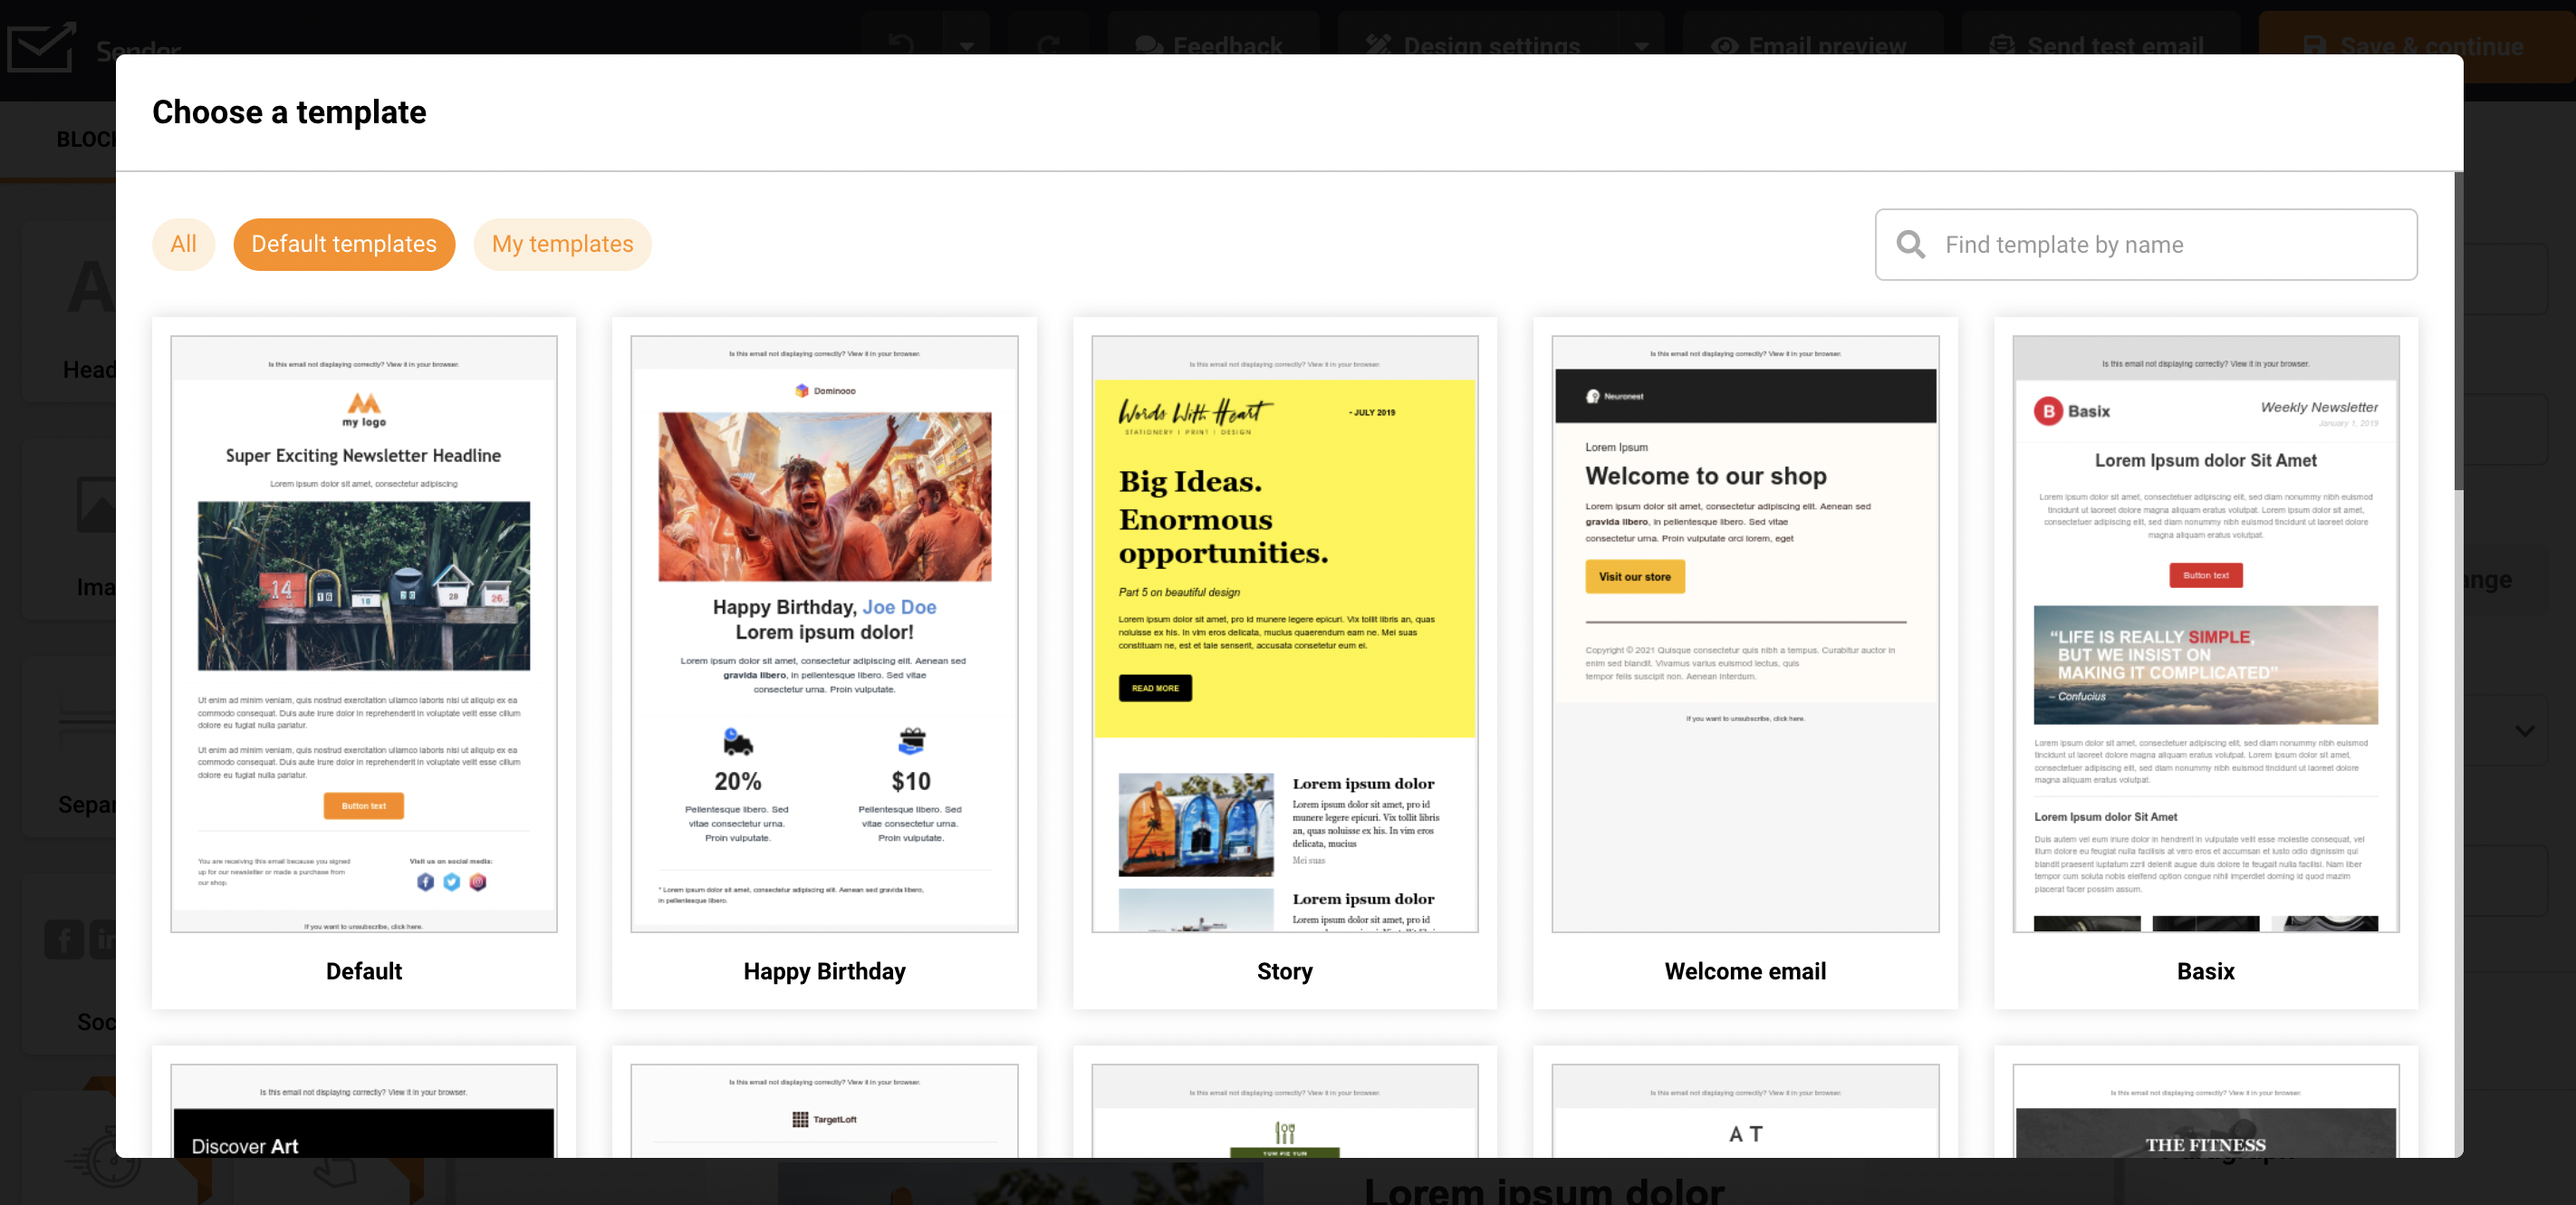
Next, continue with newsletters design – when you finish with design, click on “Save and continue” and proceed to the next step. A comprehensive guide on Drag & Drop editor is found here.
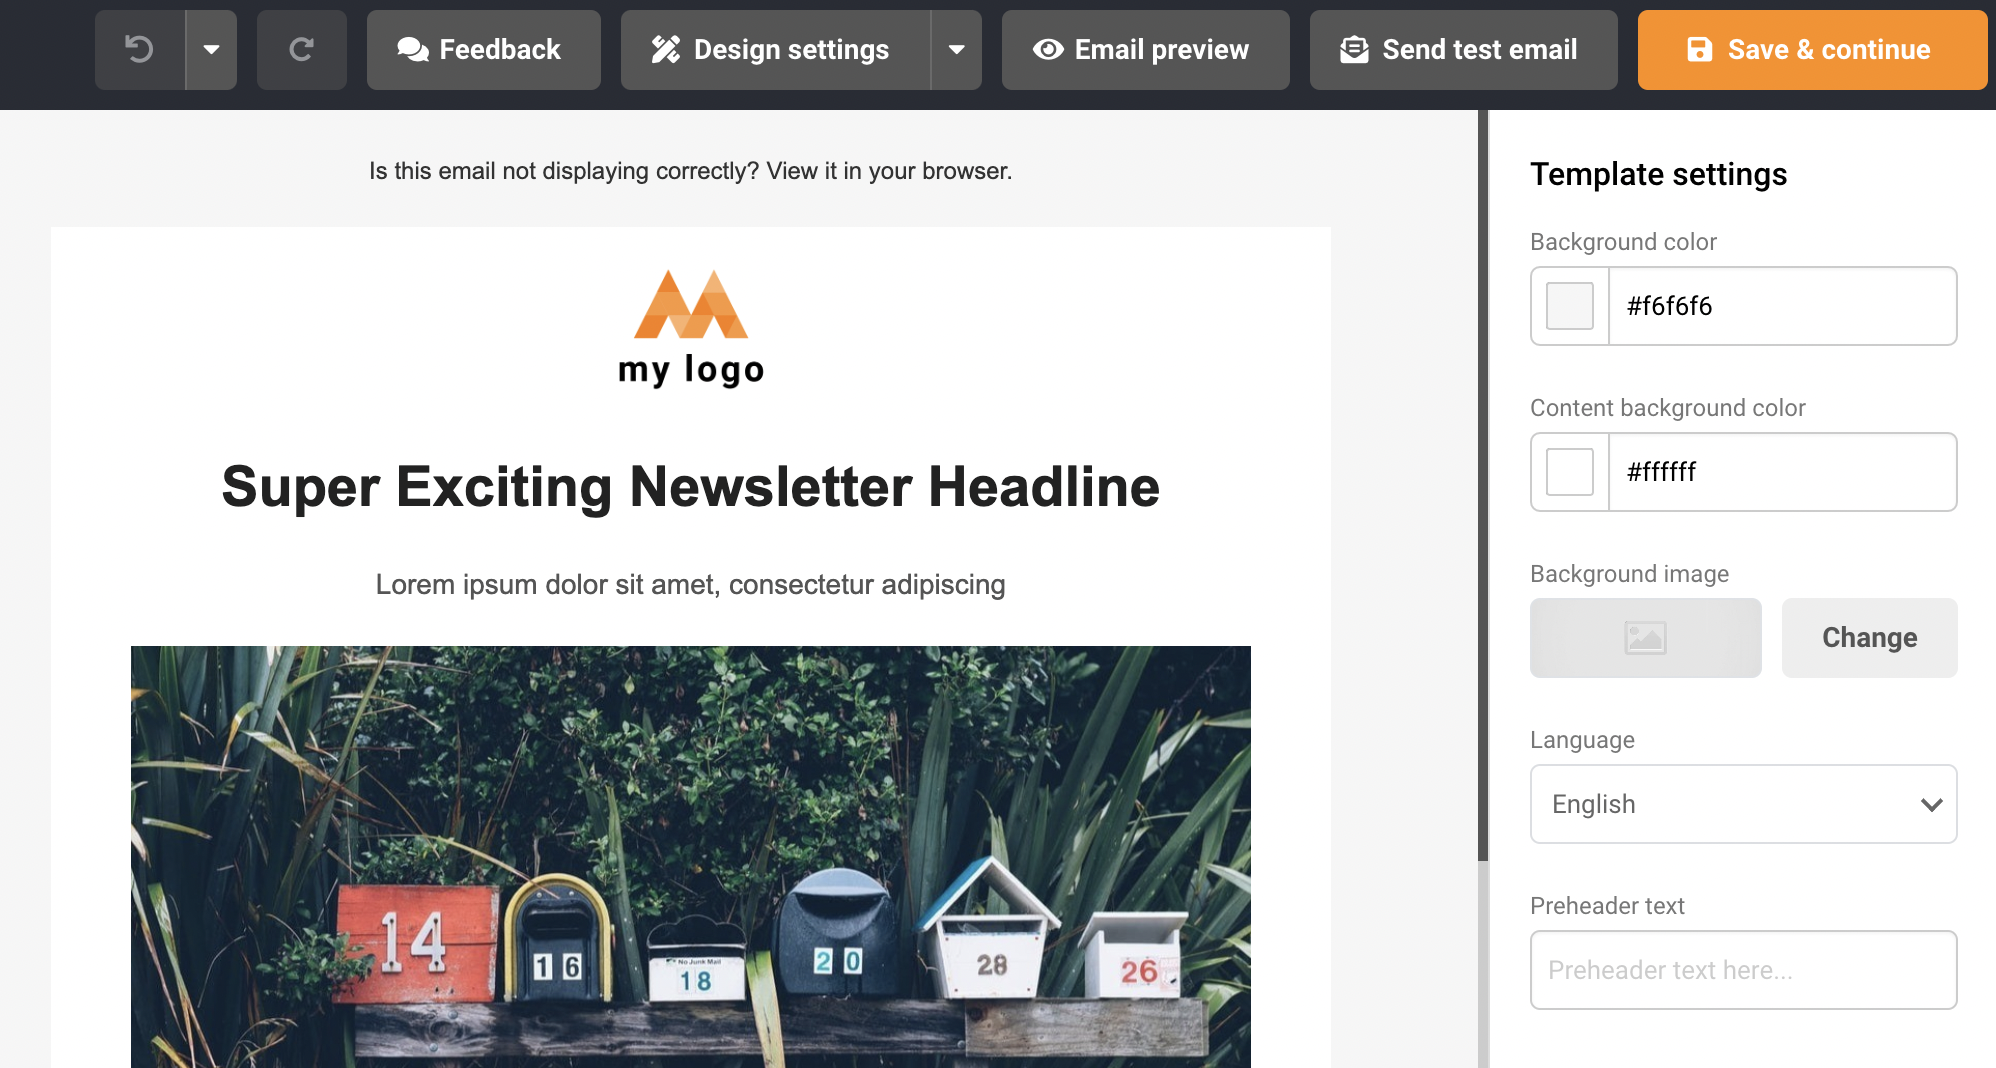
At this step, you will need to select a group(s) that will receive the campaign, then click the “Save and continue” button.
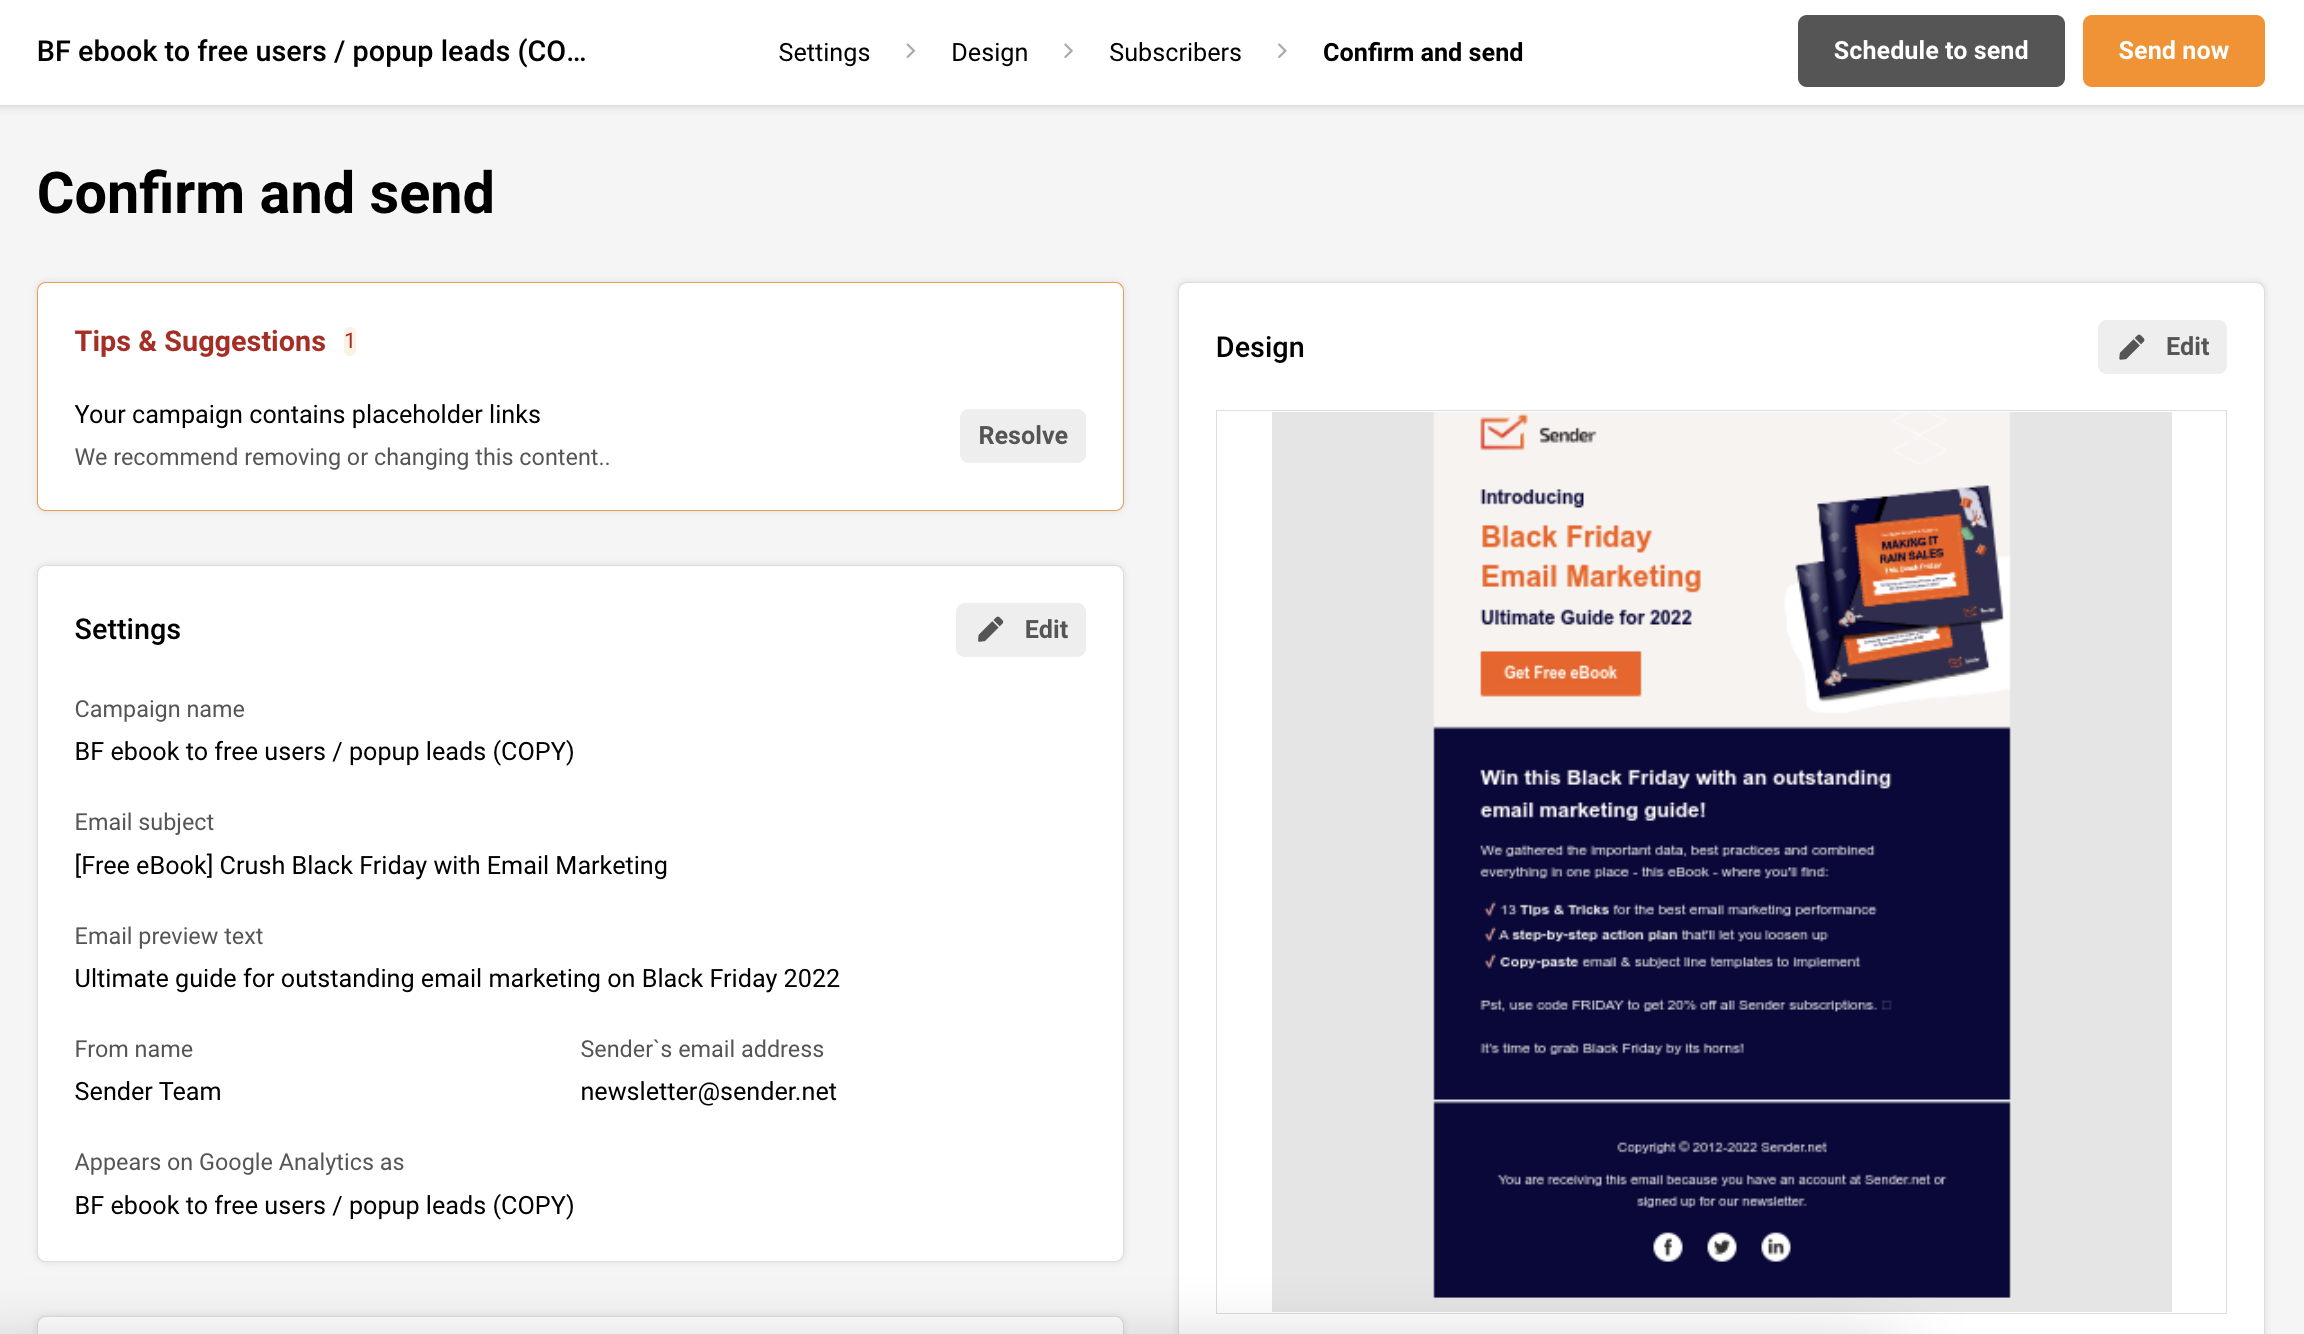
Now we’re in the last step of campaign creation. The system will check your newsletter for possible errors like invalid links, default links, mistypes, etc. Also, from here, you’ll be able to revisit and change newsletters settings, like subject line and selected groups.
Also, the campaign’s scheduling is set here as well. Schedule a campaign button resting on the top of the dashboard besides “Send now” button.
If you got stuck on a specific task or can’t find a way to execute a particular job, contact our support team via LiveChat or [email protected] – we’re here to help 24/7.
All the features your business needs to
acquire high-quality leads, grow sales, and maximize revenue from campaigns
using one simple dashboard.


