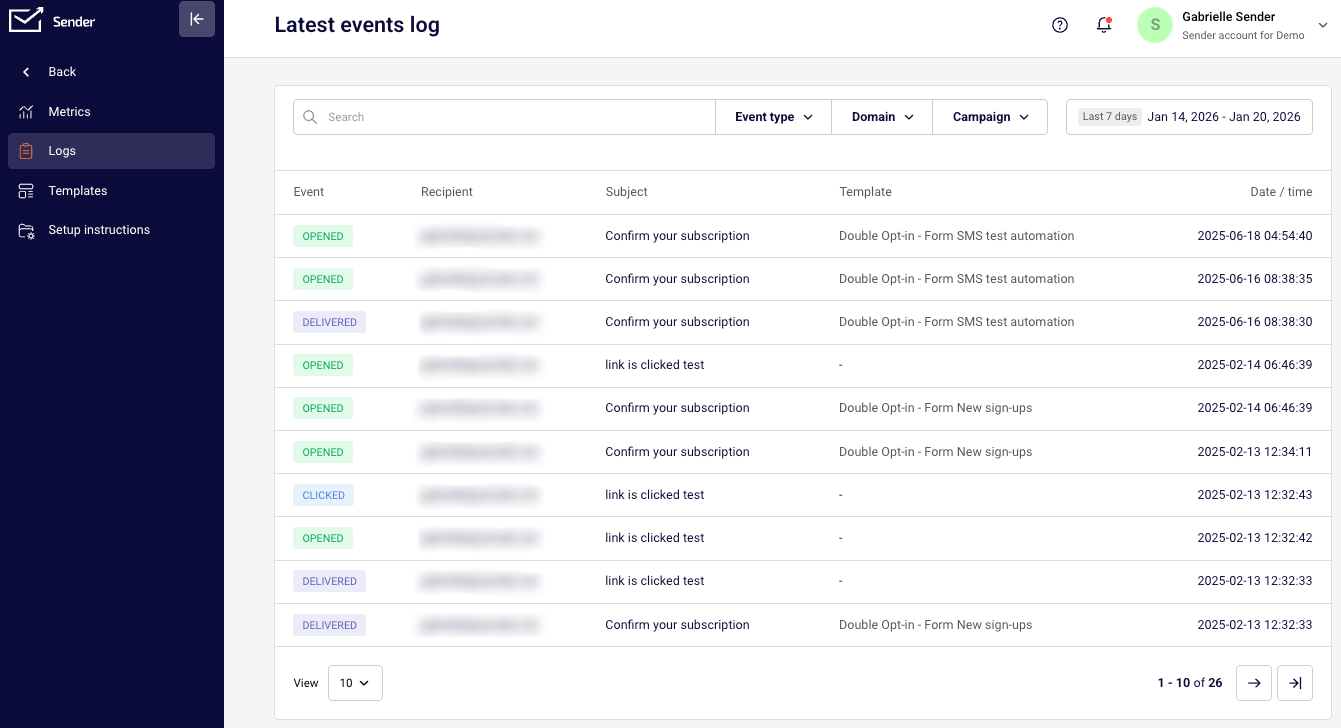
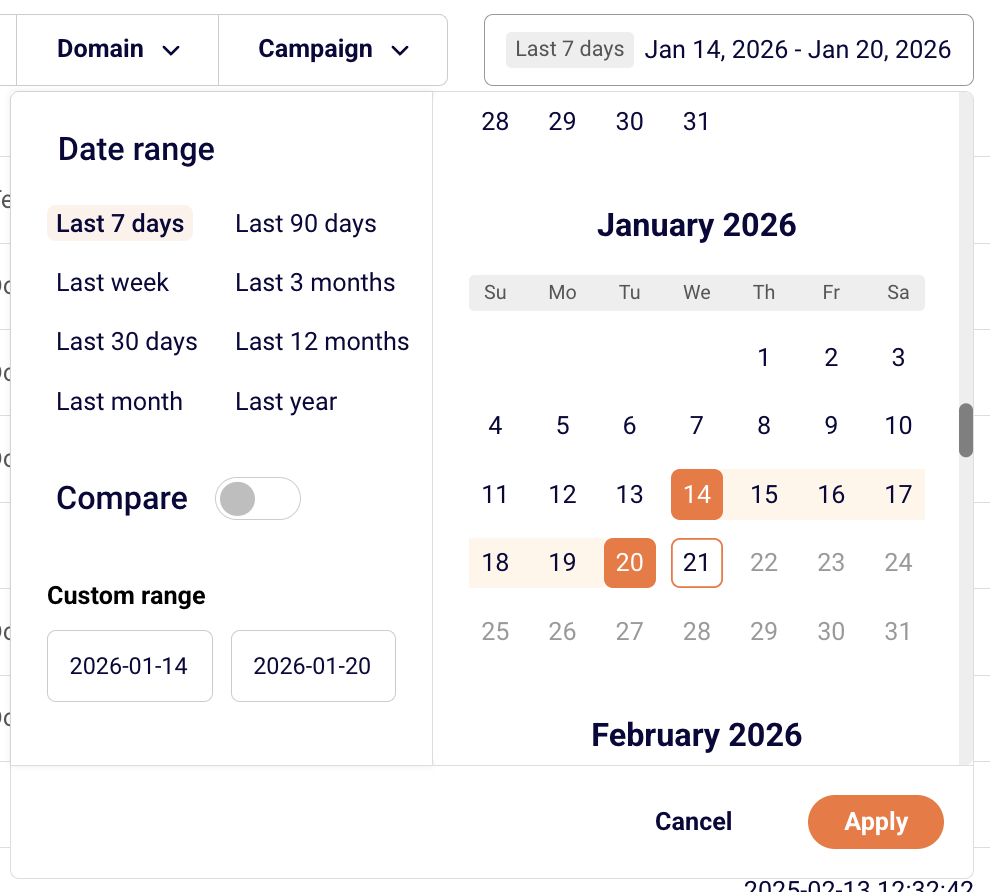
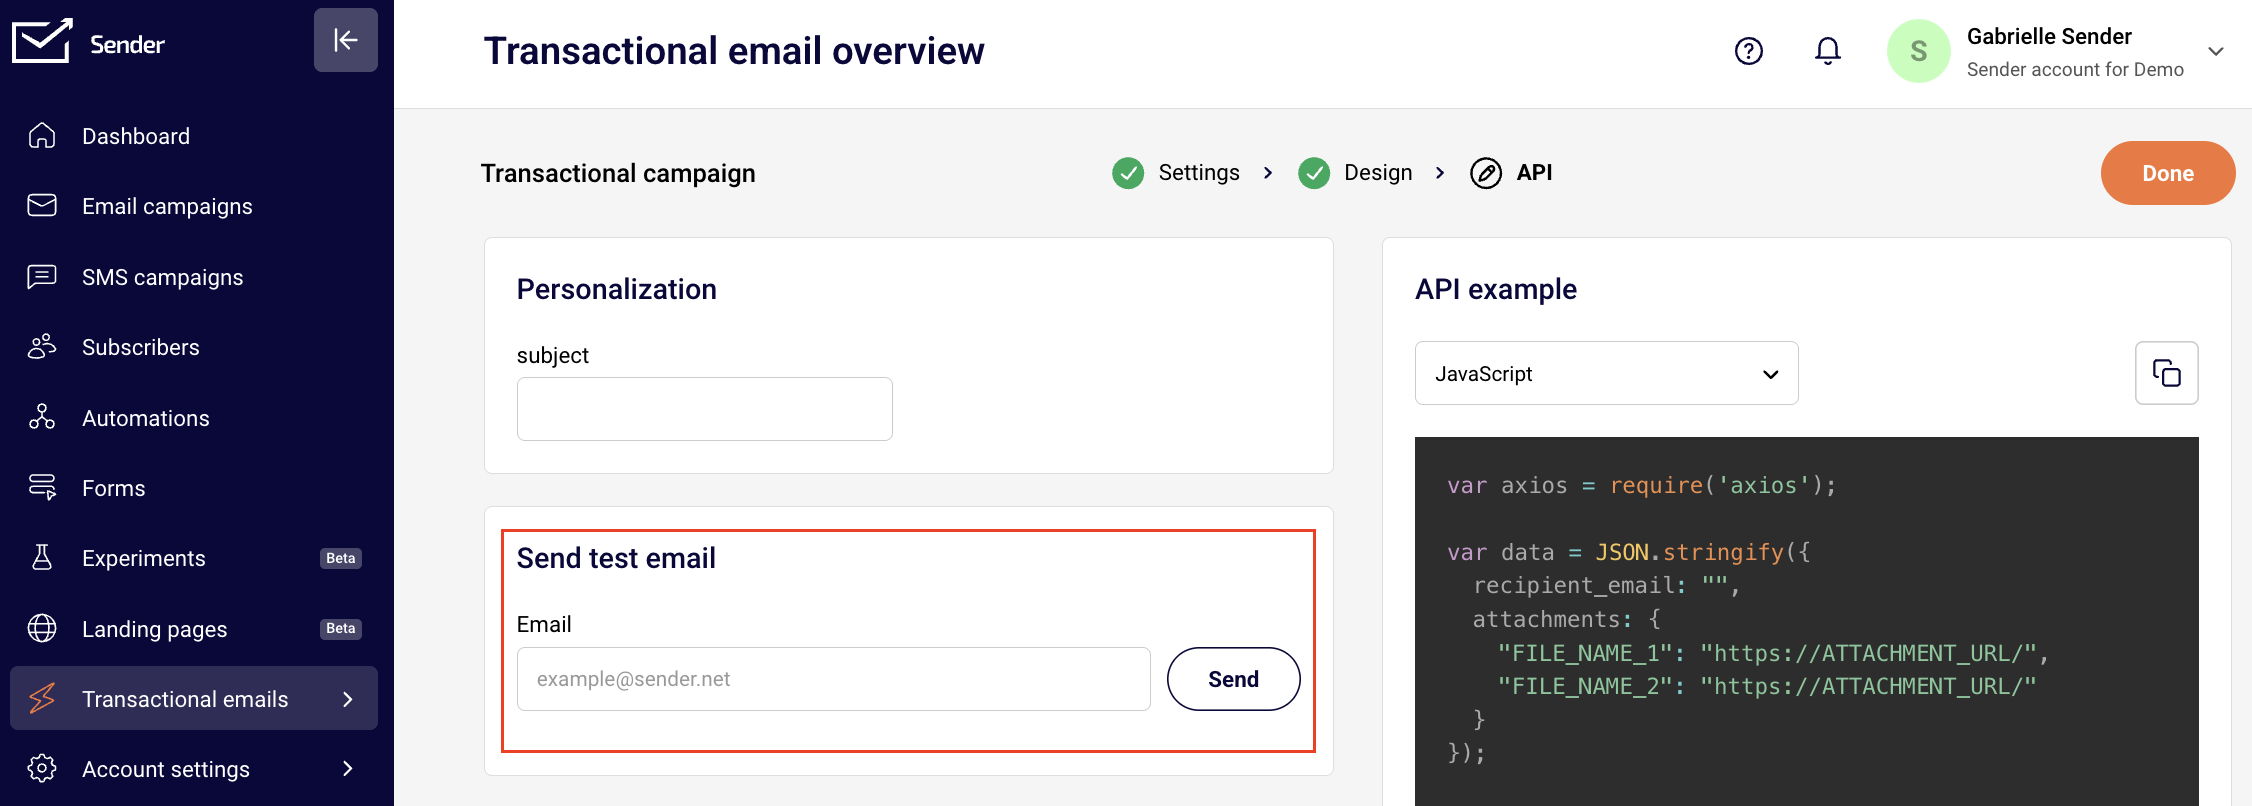
Transactional emails
Last Updated:
All the features your business needs to
acquire high-quality leads, grow sales, and maximize revenue from campaigns
using one simple dashboard.


