User roles
Last Updated:
Managing who can access what on your account is simple with user roles. By default, there are three predefined roles available: Administrator, Marketer, and Accountant—each with different levels of access and responsibilities.
If you’re on the Professional plan, you can go a step further by creating custom roles, where you choose which features or actions should be visible or restricted for specific team members. This gives you full control over how your team works in Sender.
In this article, we’ll walk you through what each default role includes and how to set up custom ones.
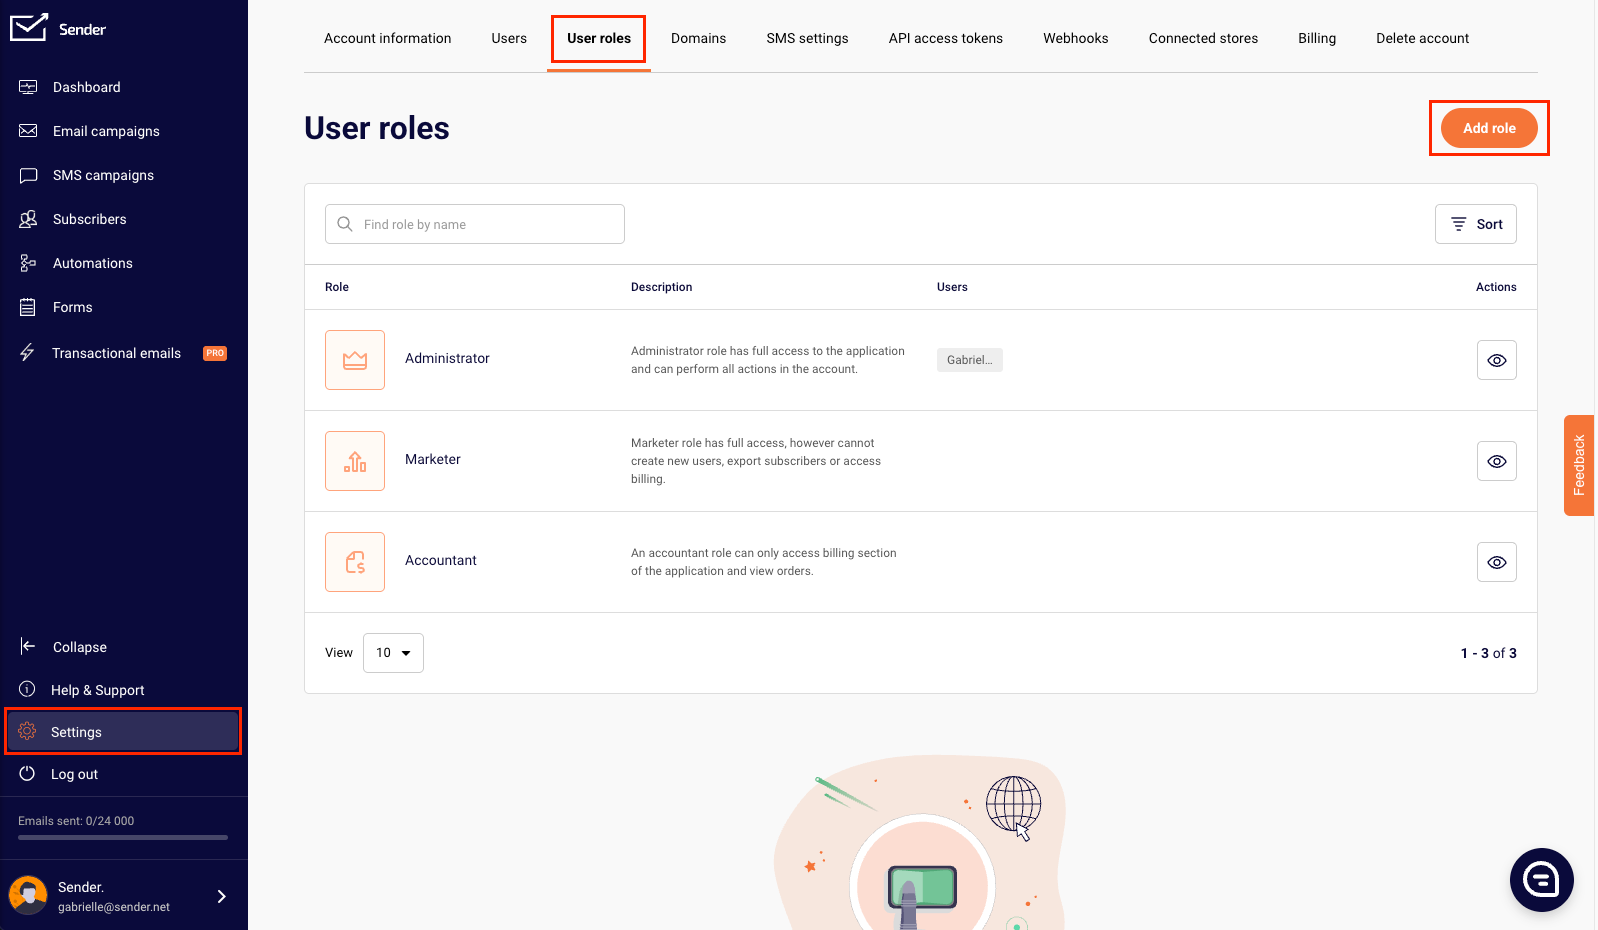
This role has full access to the application and can perform all actions in the account, including managing billing, creating and editing campaigns, importing contacts, adjusting settings, and assigning roles to other users. This role is typically reserved for account owners or team leads who need complete control over the workspace.
This role has broad access across the platform and can manage campaigns, forms, and automation workflows. However, this role does not have permission to create or manage users, export subscriber lists, or access billing settings.
This role is limited to the Billing section of the application. Users with this role can view invoices, manage payment methods, and purchase plans, but they do not have access to any campaign or contact-related features.
Custom roles allow you to tailor user permissions based on your team’s specific needs.
You can fine-tune access by enabling or restricting actions across key areas of the platform, including Content, Audience, Billing & Commerce, and Settings.
This ensures that each team member only sees and interacts with the parts of the application relevant to their role.
To create a custom role, ensure you are on the Professional plan.
Then head to Settings -> User roles -> Add role.
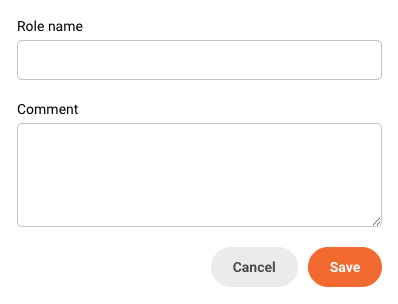
Start by naming the role and describe in short what the role is for.
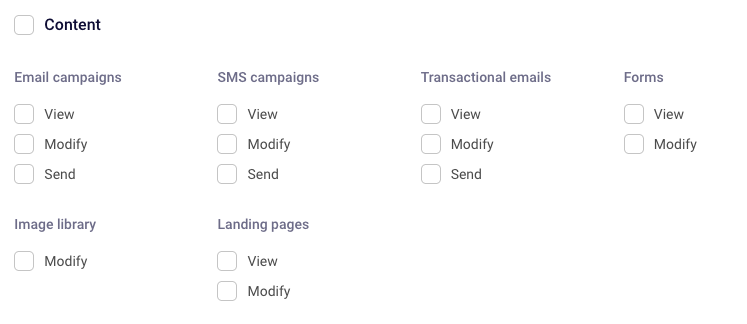
You can control the level of access the user has to content-related features. This includes the ability to view, edit, or send Email, SMS, and Transactional campaigns; manage Forms; access and modify the Image Library; and view or edit Landing Pages.
The Audience section lets you define the user’s access level for managing subscriber data. You can specify whether they can view or modify subscribers, custom fields, groups, and filters.

The Billing and commerce allws you to select permissions to view or modify orders, payment methods, stores and carts.

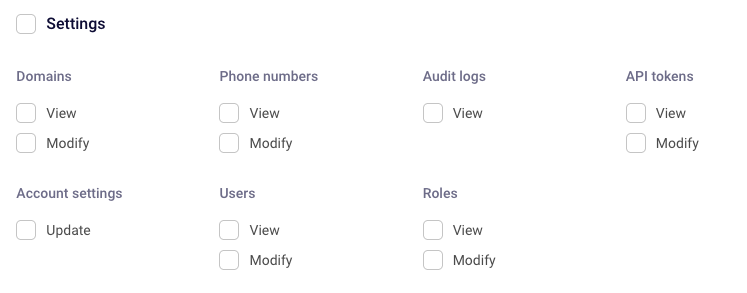
Lastly, the Settings section allows you to choose how much access the user has to control the account and its core components: domains, phone numbers, audit logs, API tokens, account settings, users, and their roles.
Once you select all the appropriate permission for the role, make sure to save it.
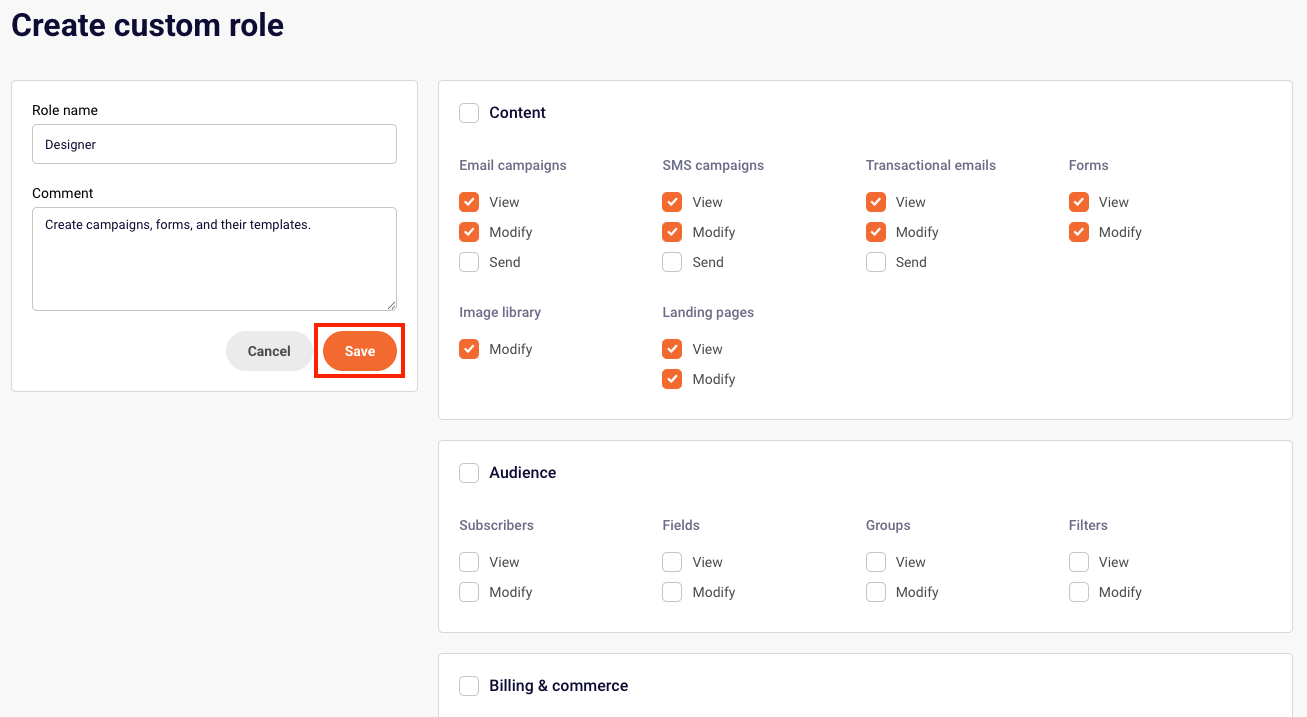
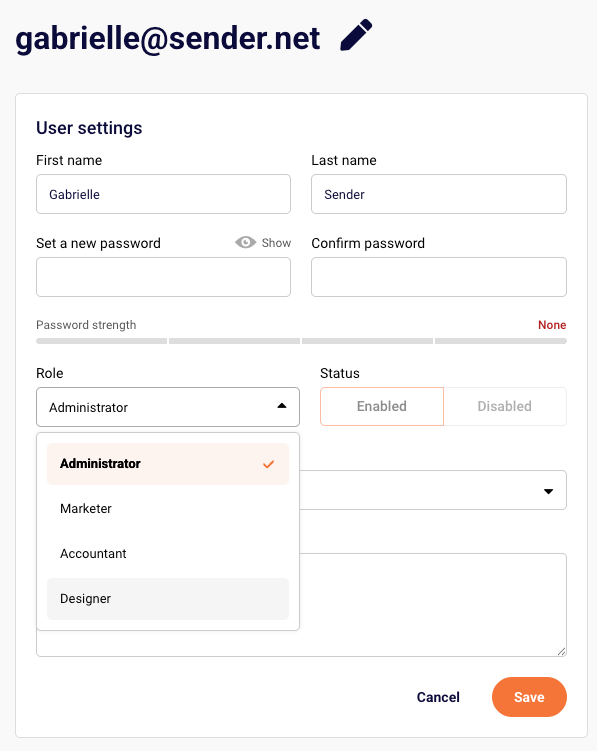
The new role can now be assigned to intended user(s).

To assign the user role, head to Subscribers -> Users, click Edit next to the user you want to assign the role to and select the role from the drop-down bar.
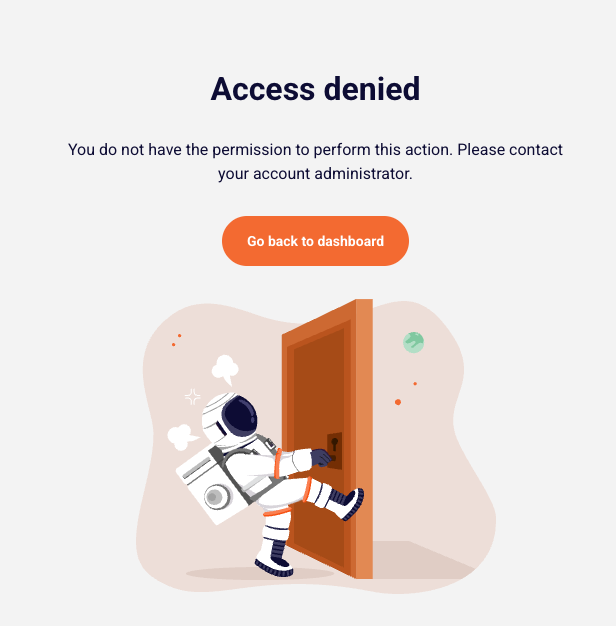
If a user attempts to access a section they don’t have permission for, they’ll see a message inviting them to contact their account administrator.
If you got stuck on a specific task or can’t find a way to execute a particular job, contact our support team via LiveChat or [email protected] we’re here to help 24/7.
All the features your business needs to
acquire high-quality leads, grow sales, and maximize revenue from campaigns
using one simple dashboard.


