The documentation of our PrestaShop plugin
Last Updated:
This is the official documentation for Sender.net’s Integration Module for Prestashop.
Here’s a short video of the installation process:
When enabled, a Sender.net subscription forms will appear in the Module positions menu. It allows you to insert your Sender.net’s subscription form into your web page. All your forms must be created via the Sender.net’s Form creator. Once the form is created, you can see it in your plugins menu.
Head to the ‘Forms’ section in your Sender.net’s plugin menu.
The feature is disabled by default. To enable the subscription form click the ‘Enable’ button and select a form.
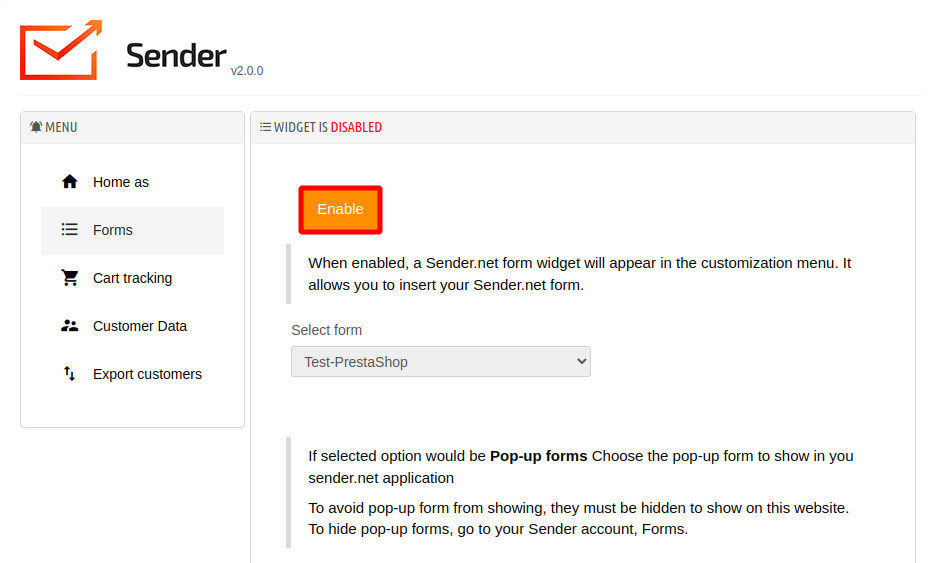
Pop-up forms will automatically appear on your website without further configurations. Simply “Active” a required pop-up on Sender.net platform, and it will appear on the website.
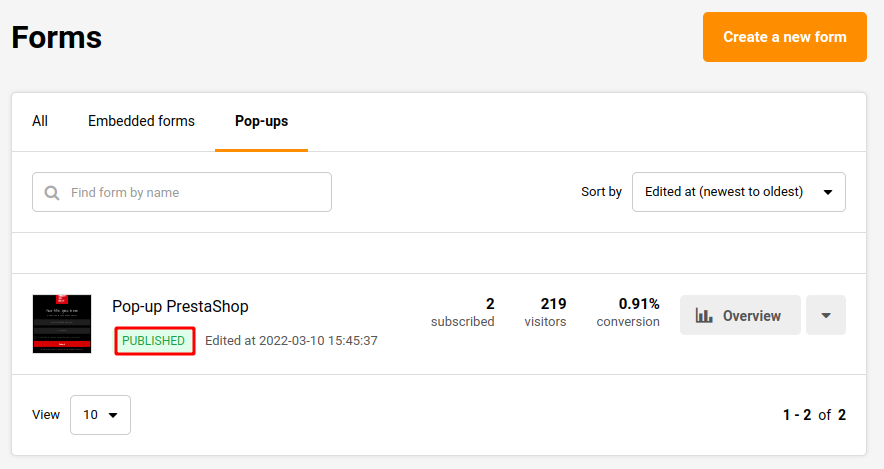
Next time you open your website, the popup will appear according to its behavior settings.
To turn on cart tracking click Enable.
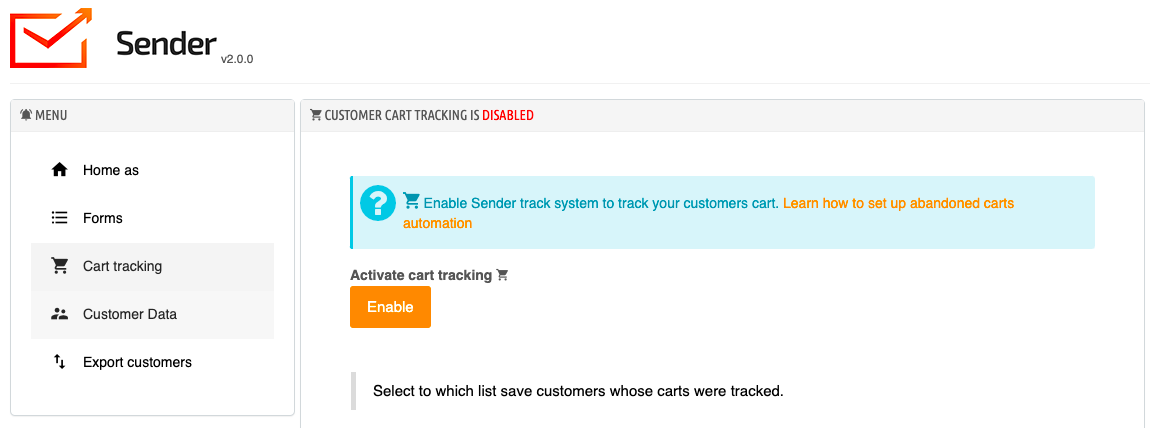
Then select to which list save the customers whose carts were tracked.
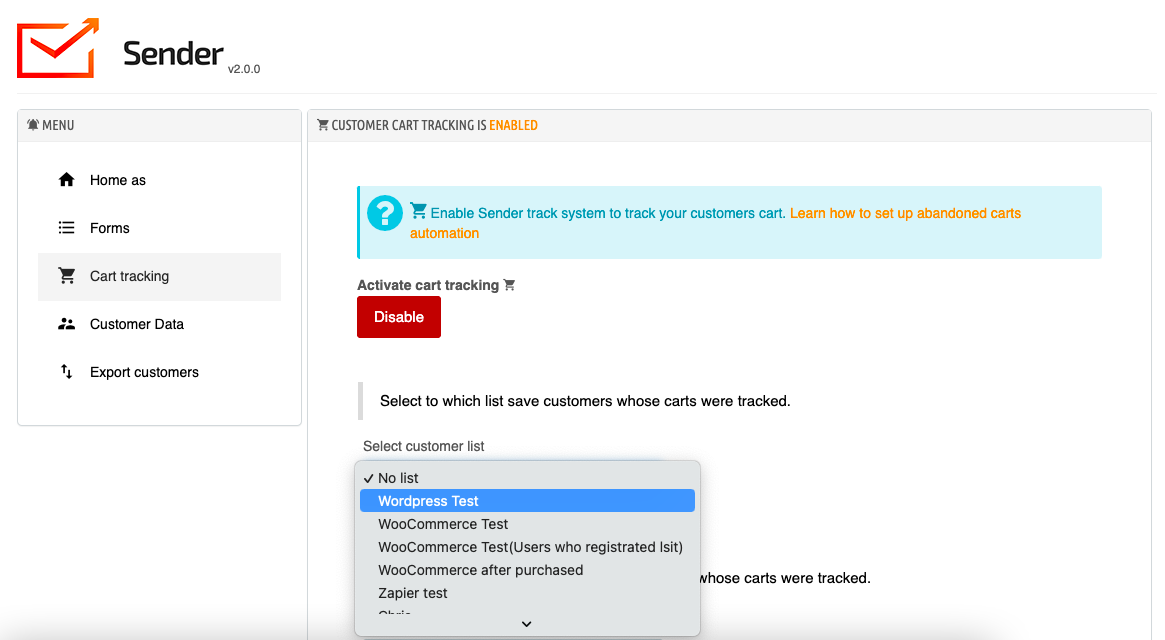
If the customer is new, select the same or a different list to which save guests or new signups whose carts were tracked.
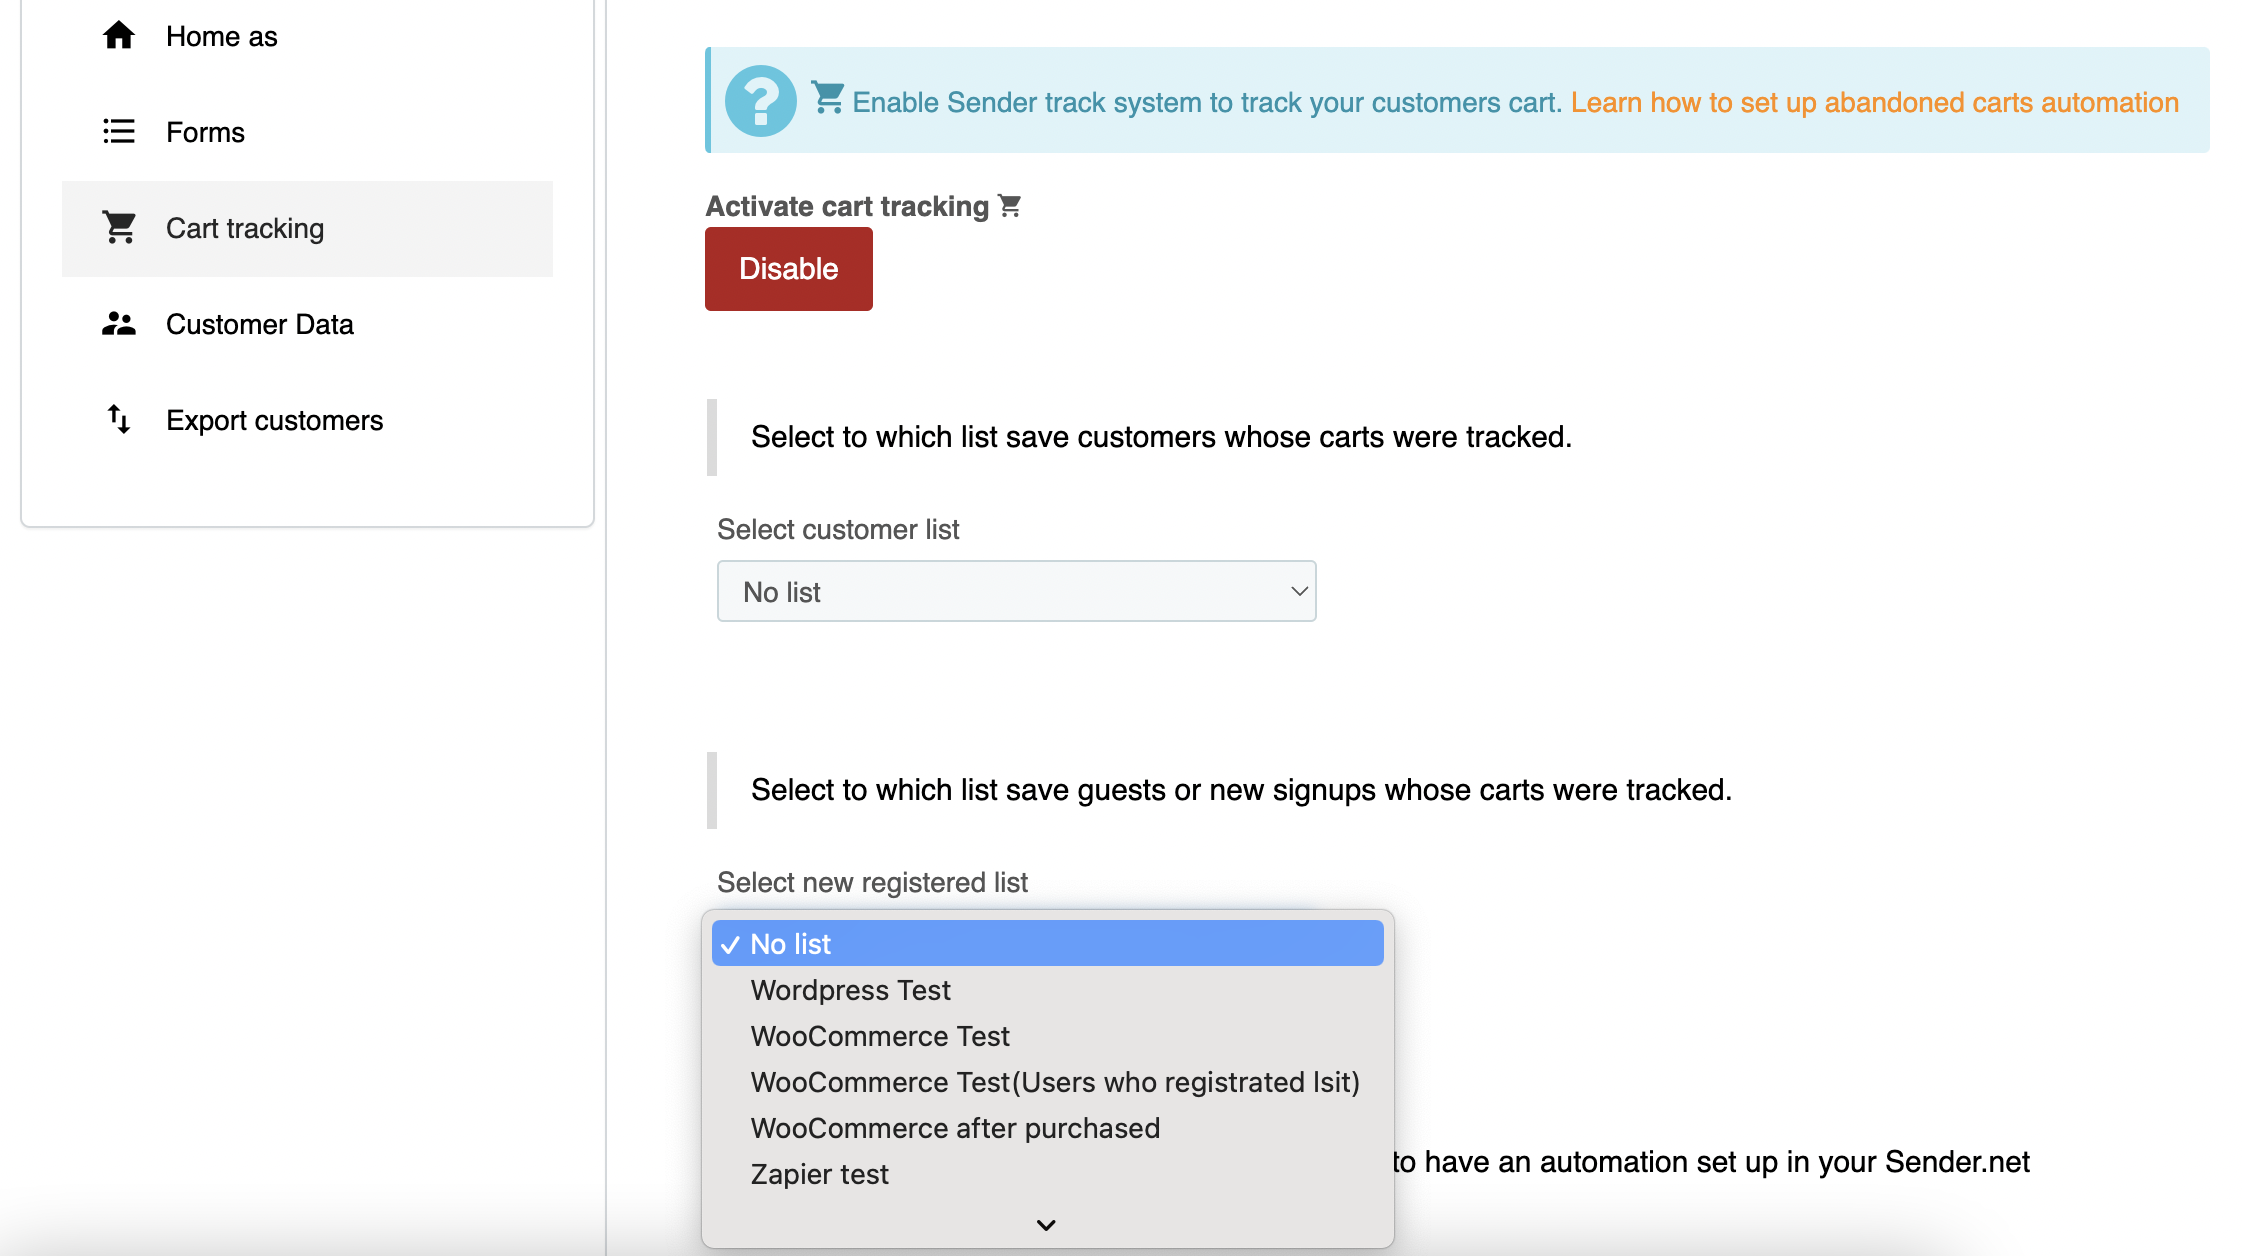
Now it is possible to create automated Abandoned cart and Product purchased workflows. If you do not have one yet, simply click Setup now.
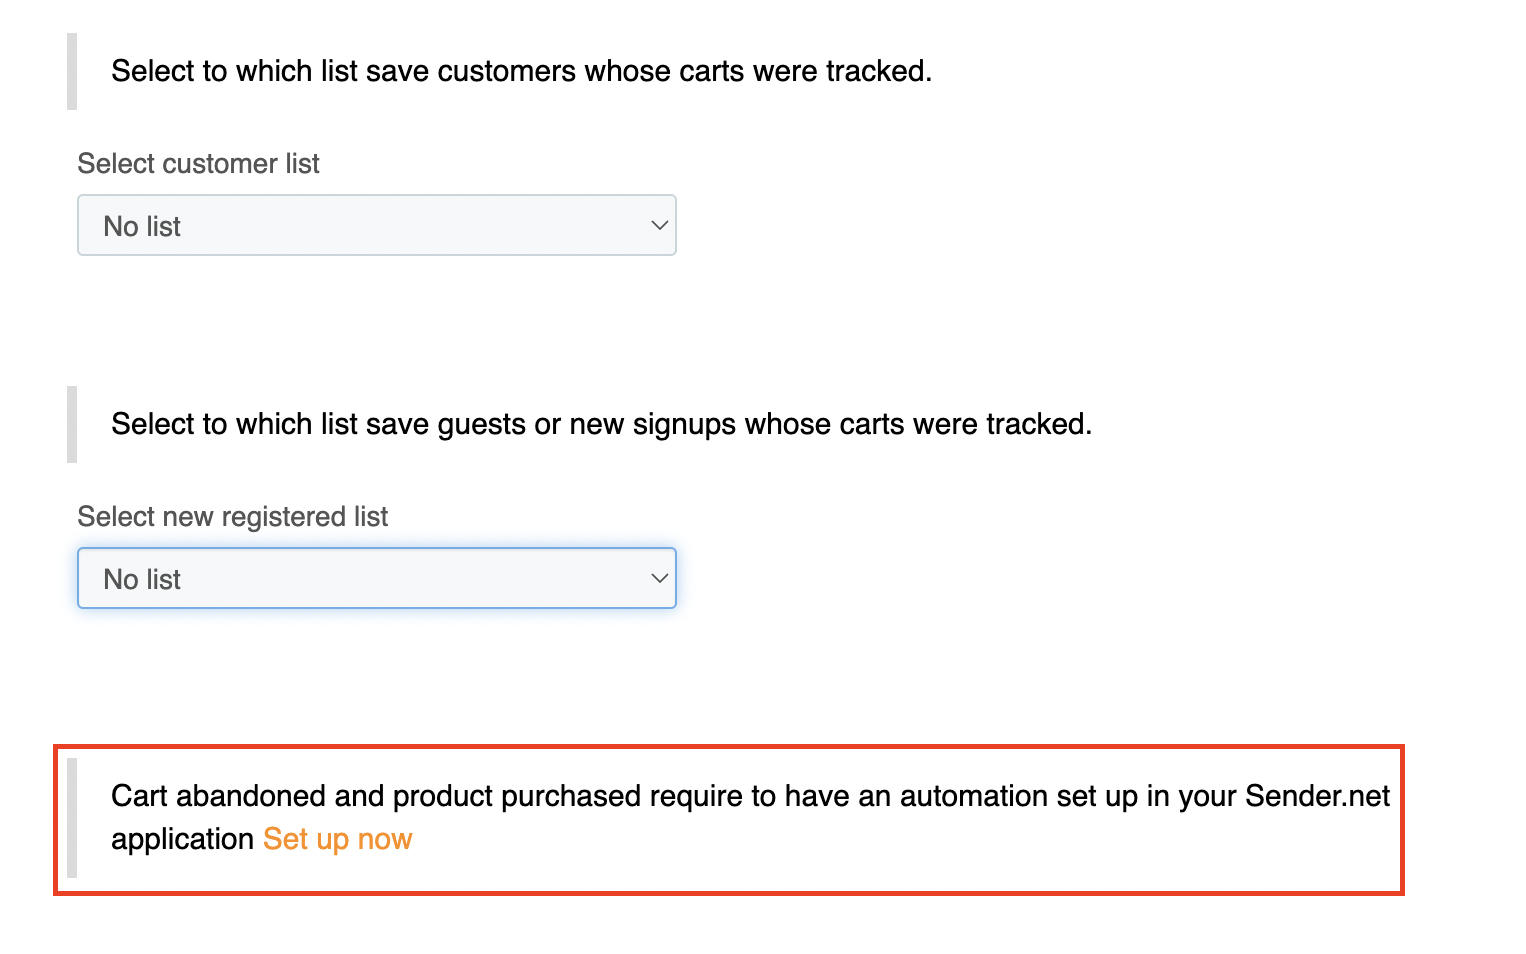
Choose the trigger A product is purchased or A cart is abandoned to set up the automation.
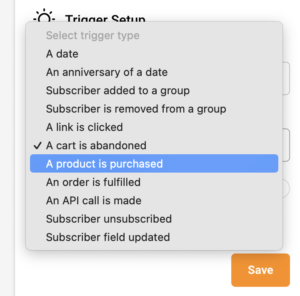
After the trigger, add a delay and any other steps (e.g. an email reminder).
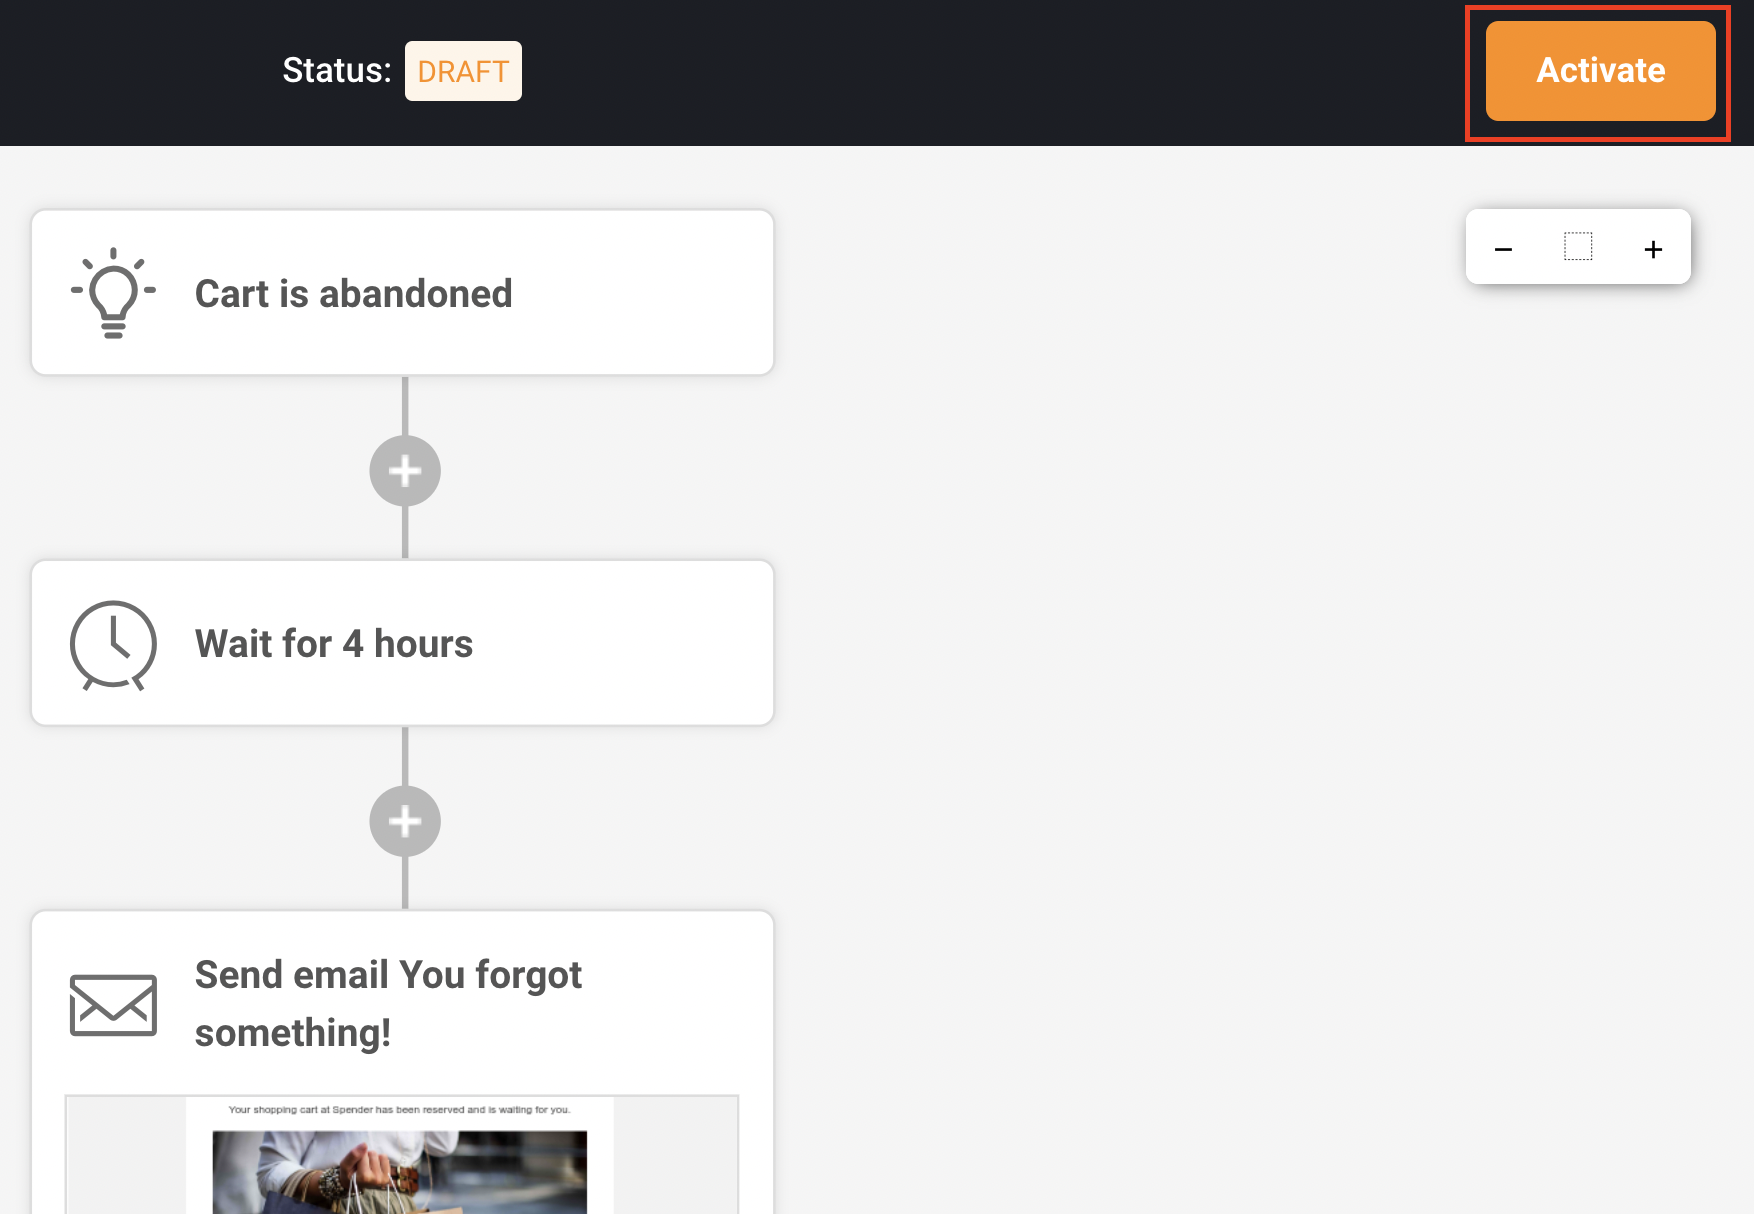
Here is an example of what the abandoned cart automation workflow could look like:
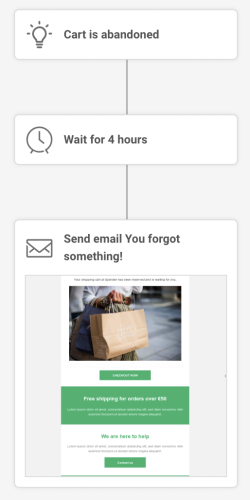
Once the automation workflow is completed, make sure to activate it.
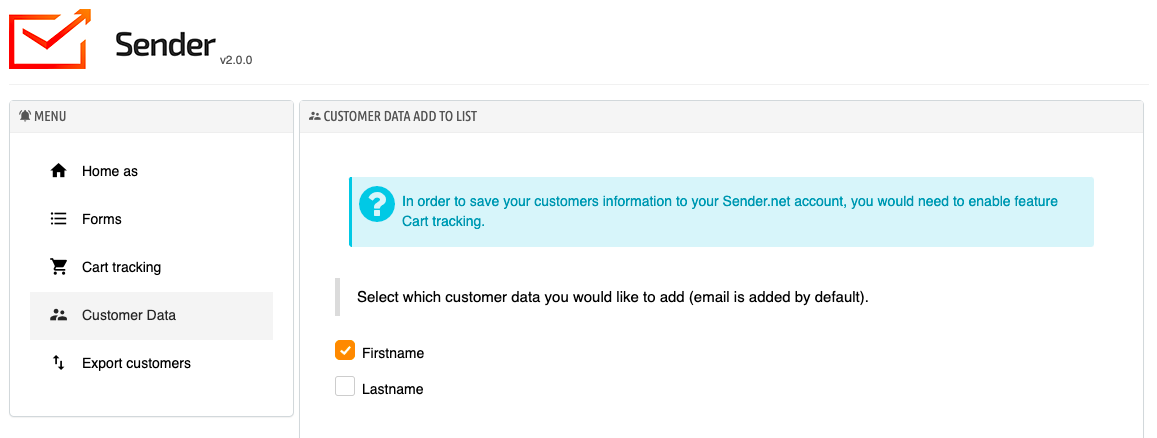
To save customer data, make sure that cart tracking is enabled.
Then click Customer data and select which customer data you would like to add (email is added by default).
There is an option for the Gender and Date of Birth field information to be collected from the customers. This information can be used to personalize future email campaigns or congratulate your customers on their birthday.
If you do not have such fields created within your Sender.net platform, you can click Create new field.
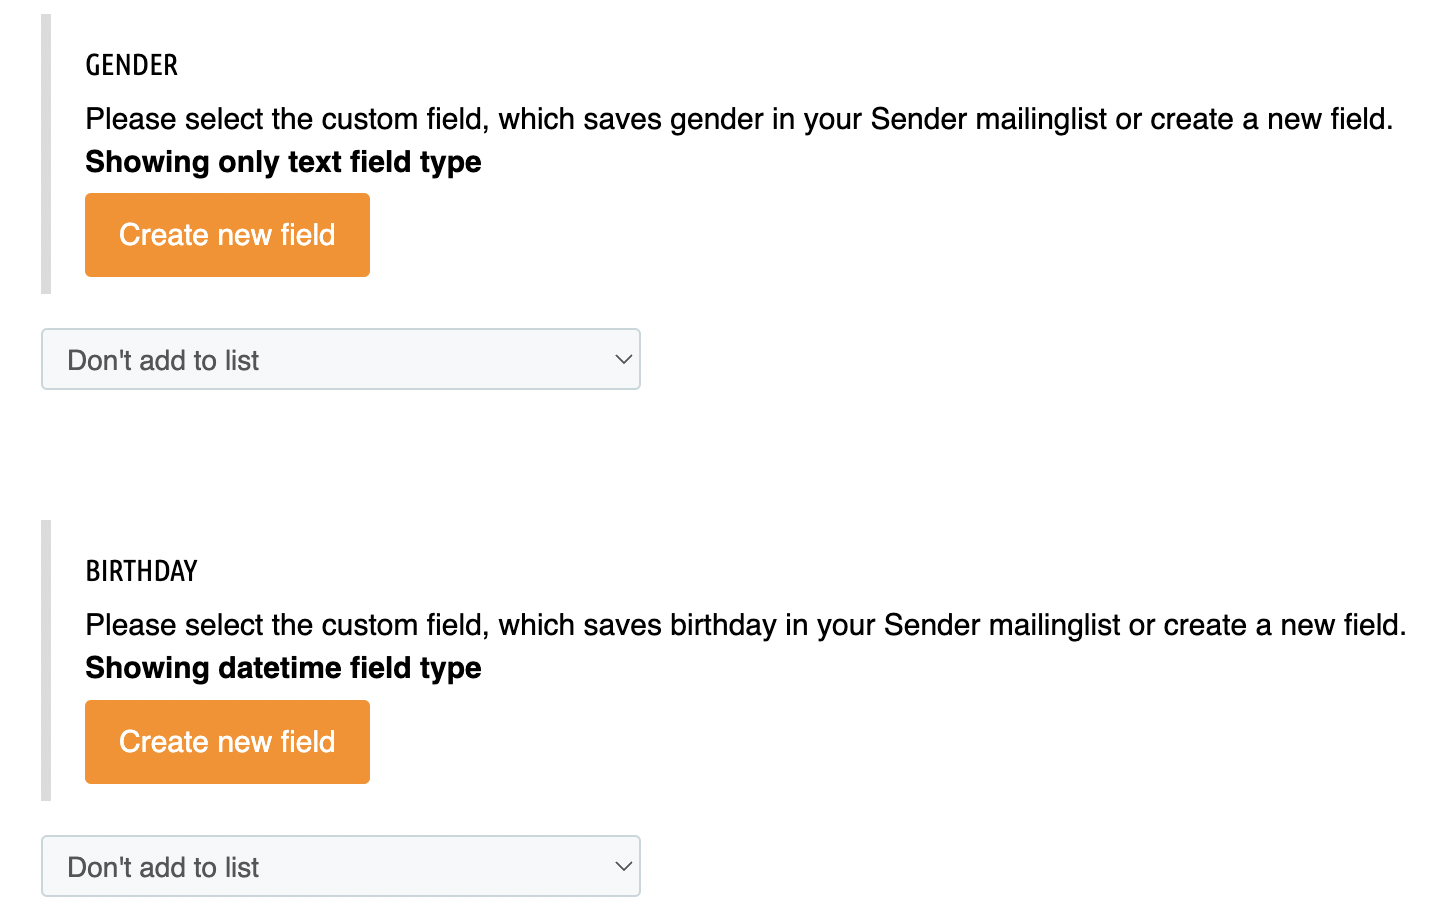
This data would be saved in your Sender.net application as subscriber information in their custom fields.
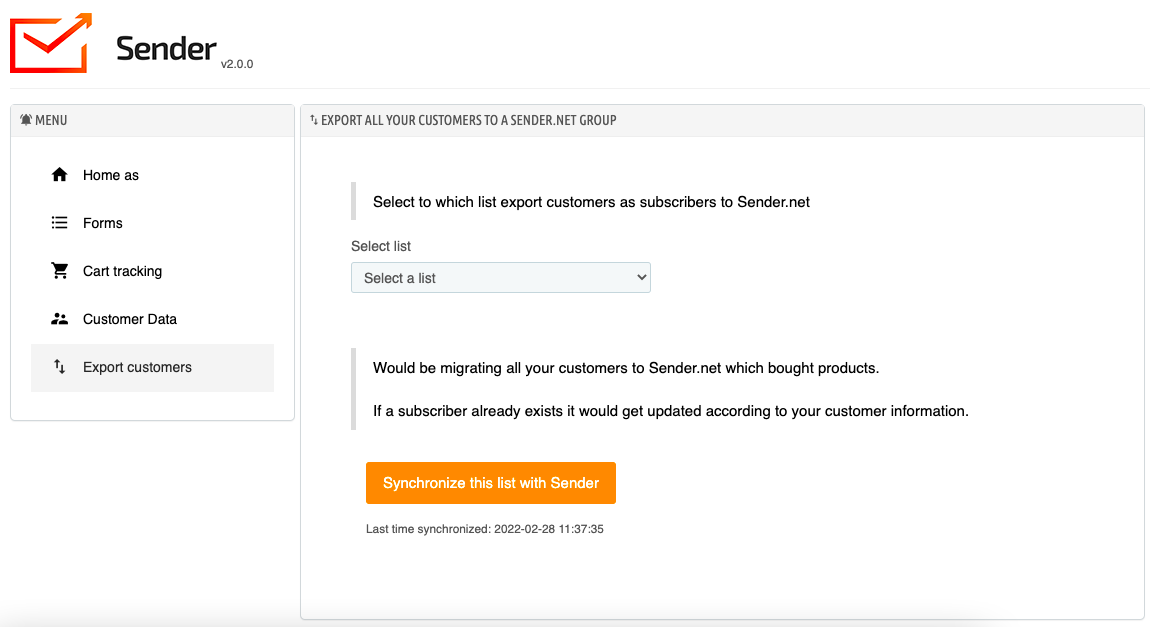
There is an option to export all your customers into a group in your Sender.net account.
Simply select the list that you want your customers to be added to and click Synchronize this list with Sender:
If you are stuck on a specific task or can’t find a way to execute a particular job, contact our support team via LiveChat or [email protected] – we’re here to help 24/7.
All the features your business needs to
acquire high-quality leads, grow sales, and maximize revenue from campaigns
using one simple dashboard.


