How to integrate Hubspot via Zapier
Last Updated:
Connect your HubSpot CRM with Sender using Zapier to automate workflows and keep your email marketing in sync. With this integration, you can automatically transfer new contacts, update subscriber details, and trigger email campaigns based on HubSpot activities.
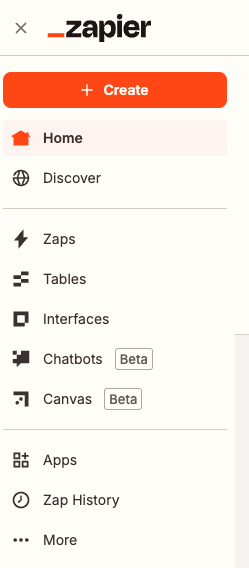
Head to Zapier, log in to your account and click “Create” to make a new Zap:
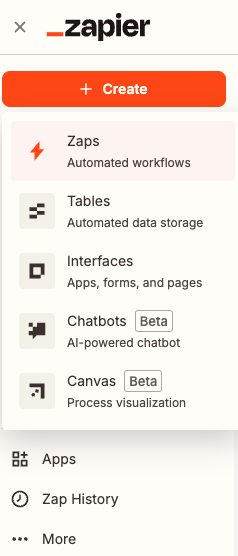
Name the Zap, for the trigger search for “Hubspot” and select it from the list.

After selecting the trigger app, choose the appropriate trigger event for your integration. In this case, we will pick “New Contact.”
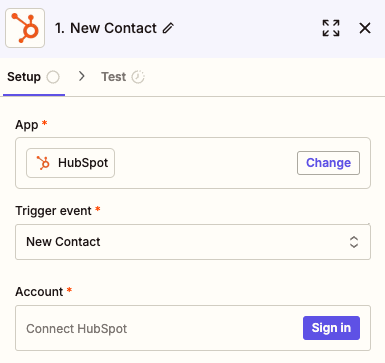
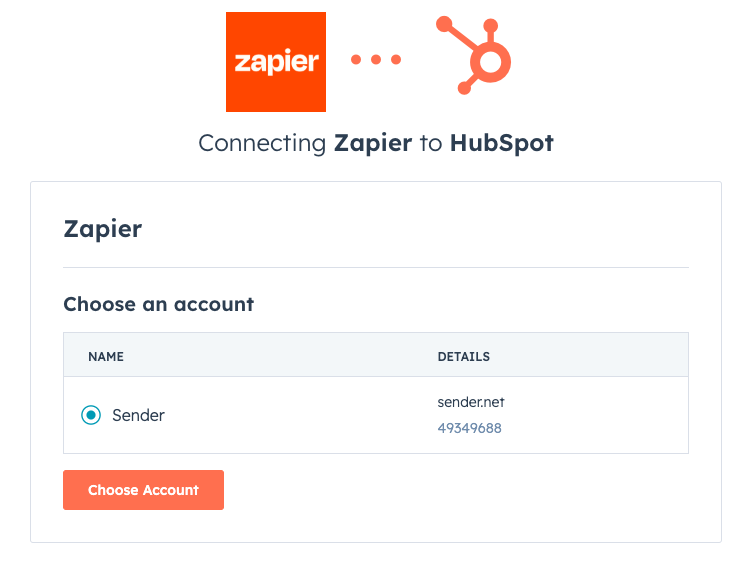
Connect your Hubspot account to Zapier by selecting it from the provided list.
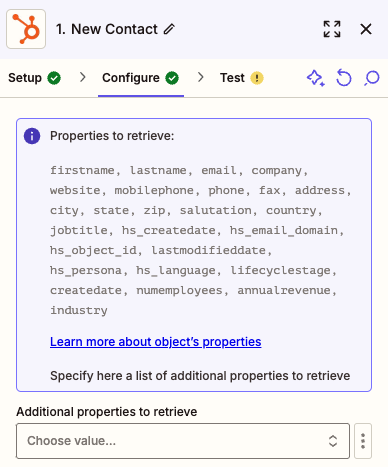
Once the account is connected, choose additional values (if needed) you want to send from Hubspot to Sender, apart from the ones listed in the purple bubble.
Test the trigger and move to the second step of the connection.
Search for Sender in the action step application list.

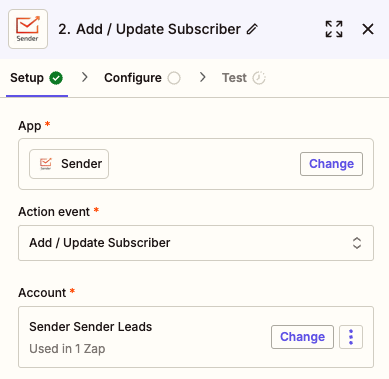
For the action event choose “Add/update subscriber” and connect your Sender account to Zapier.
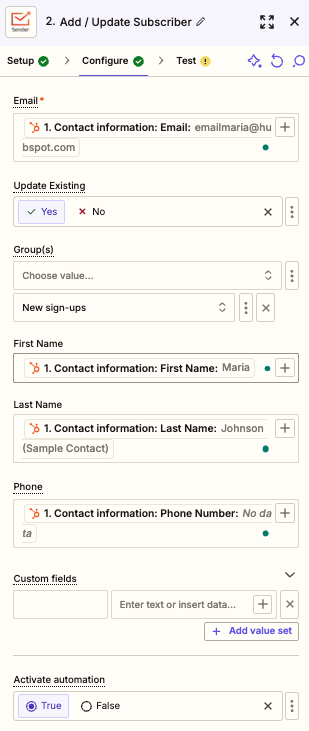
In the “Configure” step, match the fields from HubSpot with the corresponding fields in Sender to ensure accurate data transfer to your custom fields.
Decide whether to update existing subscribers if they are already in your list by selecting the appropriate option.
Select the appropriate group for new subscribers to easily identify them and track their source once they are imported into your Sender account.
To control whether the integration triggers an automation, choose “True” to enable it or “False” to prevent it in the “Activate Automation” section at the bottom.
Test the connection to ensure everything is setup correctly.
Finally, publish your Zap to activate the integration and ensure a smooth data flow.
If you got stuck on a specific task or can’t find a way to execute a particular job, contact our support team via LiveChat or [email protected] – we’re here to help 24/7.
All the features your business needs to
acquire high-quality leads, grow sales, and maximize revenue from campaigns
using one simple dashboard.


