Automation’s Starting Trigger
Last Updated:
Automation workflows allow you to create thousands of scenarios for sending automated emails without lifting a finger. Nevertheless, every automation sequence must start with a trigger.
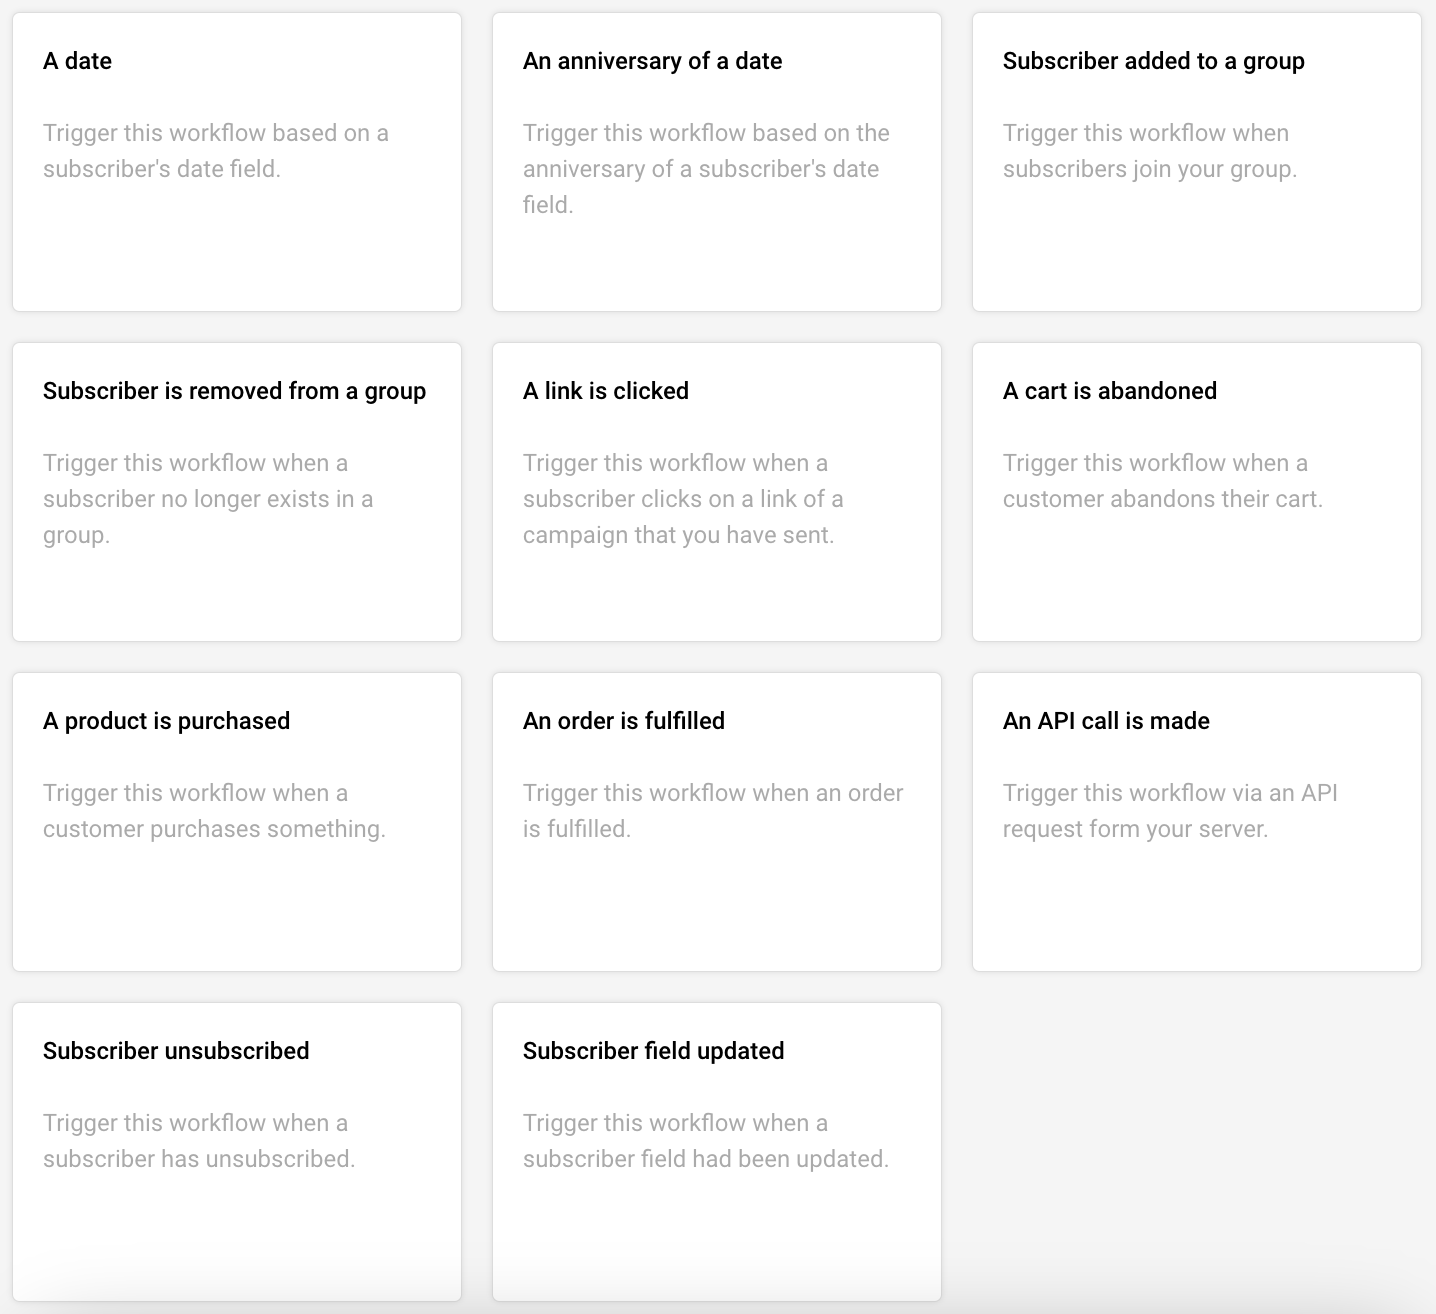
When creating a new automation workflow, you will be presented with different starting triggers:
- A Date. For example, you have the ‘last purchased’ date as a custom field next to each subscriber and want to start a Win-Back Customer email series. In order to activate date trigger subscriber’s custom field must have “date” type selected.
- An Anniversary Of A Date. Perfect for sending Birthday cards or for any other anniversary date. For this trigger, you need to have a defined date custom field information for each subscriber. The system will require date formatting and automation will start each year automatically.
- Subscriber Added to a Group. This automation workflow will start when a subscriber gets added to a certain subscriber group via a subscription form or an API call.
- Subscriber Is Removed From a Group. The automation will start whenever the subscriber is removed from a defined group via an API call or a separate automation workflow. Manually removing subscribers will not trigger the automation.
- A link Is Clicked. Automation would start its first action whenever a subscriber clicks on a specific defined link. It might be a link to a particular product or any other link used in previous campaigns. After subscribers click on the link, they automatically participate in a secondary automation sequence which starts after the “A link is clicked” trigger.
- Cart Is Abandoned. Abandoned cart reminders might be a great source of revenue. It starts the automation workflow once a cart is abandoned. Send them emails, add them to tailored-made groups, and get notified if a cart is recovered. This requires integration with e-commerce!
- A Product Is Purchased. Send customers Thank-you letters, post-purchase feedback requests, or get notified when somebody buys your product or service. This requires e-commerce integration!
- An API Call Is Made. Start the automation with any of your system’s events. Send an API call from any other system or program and start the automation.
- Subscriber unsubscribed. Start the automation if any of your subscribers unsubscribes. It can be used to notify yourself about this occasion, move subscribers to a certain group, remove them from future messaging, and even send a confirmation email to the subscriber acknowledging their decision to unsubscribe.
- Subscriber field updated. Start the automation sequence when any of the chosen fields receives new information.

Note: Automation is triggered according to the account’s time zone. If you’re facing any delays, please double-check the time zone set in your account settings.
That’s it!
If you got stuck on a specific task or can’t find a way to execute a particular job, contact our support team via LiveChat or [email protected] – we’re here to help 24/7.


